
Statements are sent automatically on the day and during the window you choose in the Statement configuration. This article explains how the timing works and what to expect when your monthly run takes place.
Choosing your send day and window
In the Statement configuration, the 'Send on' dropdown lets you choose:
First day of month
Last day of month
Custom day of month - A specific day of the month (1 to 31)
Months with fewer days
If the day you choose is later than the last day of the month, your Statement is sent on the last day of that month instead. For example, a Statement set to send on the 31st will send on 30 April.
You also choose a send window:
Morning - between 8:00 AM and 12:00 PM
Afternoon - between 1:00 PM and 5:00 PM
Evening - between 6:00 PM and 10:00 PM
All times are in your tenant’s timezone.
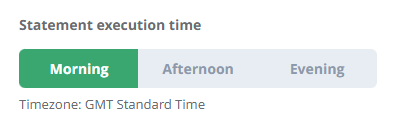
Statement execution time windows
Why a window instead of a specific time
Statements are sent during your chosen window rather than at an exact time. Within the window, your statement emails are distributed across the hours to manage email and database load efficiently. This means a customer might receive their statement at, for example, 8:15 AM or 11:30 AM if you've chosen Morning.
Exact send times may vary
The exact moment each customer receives their statement within your chosen window will vary. The window guarantees your statements are sent on the right day - the precise minute within the window is determined by the system.
When your data is captured
Statements use the data that's in Credit Hound at the moment each customer's statement is generated. This means:
Payments and invoices that have synced from your accounting system before a customer's statement is generated will appear on that statement
Payments and invoices that sync after a customer's statement is generated will appear on the next month's statement
Timing your payment runs
To make sure recent payments and invoices appear on your statements, post them in your accounting system and let them sync into Credit Hound before your Statement window starts.
A few tips:
If you regularly post payment runs in the morning, consider choosing Afternoon or Evening for your statements so the morning's payments are reflected
If you post payment runs in the afternoon, consider Evening, or schedule for early Morning the following day
On Statement day, avoid posting last-minute payment runs during the window itself - they may not be reflected on this month's statements
What happens if a customer pays during the window
If a customer's outstanding balance drops to zero during the Statement run (for example, they pay all their invoices and the payment(s) syncs in), and their statement hasn't been generated yet, they will be excluded from this month's run. They won't receive a statement showing a zero balance.
If their statement has already been generated and sent before the payment syncs in, they will have received the statement showing the balance as it was at that moment. The payment will be reflected on next month's statement.
What happens if a customer becomes eligible during the window
If a customer who wasn't eligible at the start of the run (for example, they had no outstanding transactions) becomes eligible during the window (a new invoice is synced), they will not receive a statement this month. The list of customers who will receive a statement is determined when the run starts.
The newly outstanding invoice(s) will appear on next month's statement.
Changing your schedule
You can change your Statement schedule - for example, switching from the 1st to the 15th of the month, or moving from Morning to Evening. Schedule changes follow one rule:
A Statement only runs once per configured period.
For monthly statements, “period” means the calendar month. This means:
If you haven't yet sent a Statement this period, your schedule change applies straight away - the next run will use the new schedule, provided the new date and time is still in the future.
If you have already sent a Statement this period, your schedule change applies from the next period. The current period's statements have already been sent, so the new schedule starts taking effect next month.
Examples
You sent statements on 1 June and then change the schedule to the 15th - the next run is 15 July
Your statement is scheduled for 15 June and you change it to the 20th on 10 June - the next run is 20 June
Your statement is scheduled for 15 June and you change it to the 10th on 12 June - the next run is 10 July (because 10 June has already passed)
Scheduled Statements
Open Tasks > Scheduled Emails to see an upcoming Statement run. Use the Viewing date selector to choose a day - you can look at today and the next six days. Your Statement appears in the Emails Being Scheduled list on the day it is scheduled to send, alongside any Collection Paths running that day.
Expand the Statement card to see:
The Statement name and description
The number of customers who will receive a Statement
The date and send window the Statement will be sent in, with the time zone it applies to
A warning if any customers' default contact has an invalid or missing email address, with a link to view them
A list of the customers in the run, showing the customer name and reference, the email subject, and the Statement total
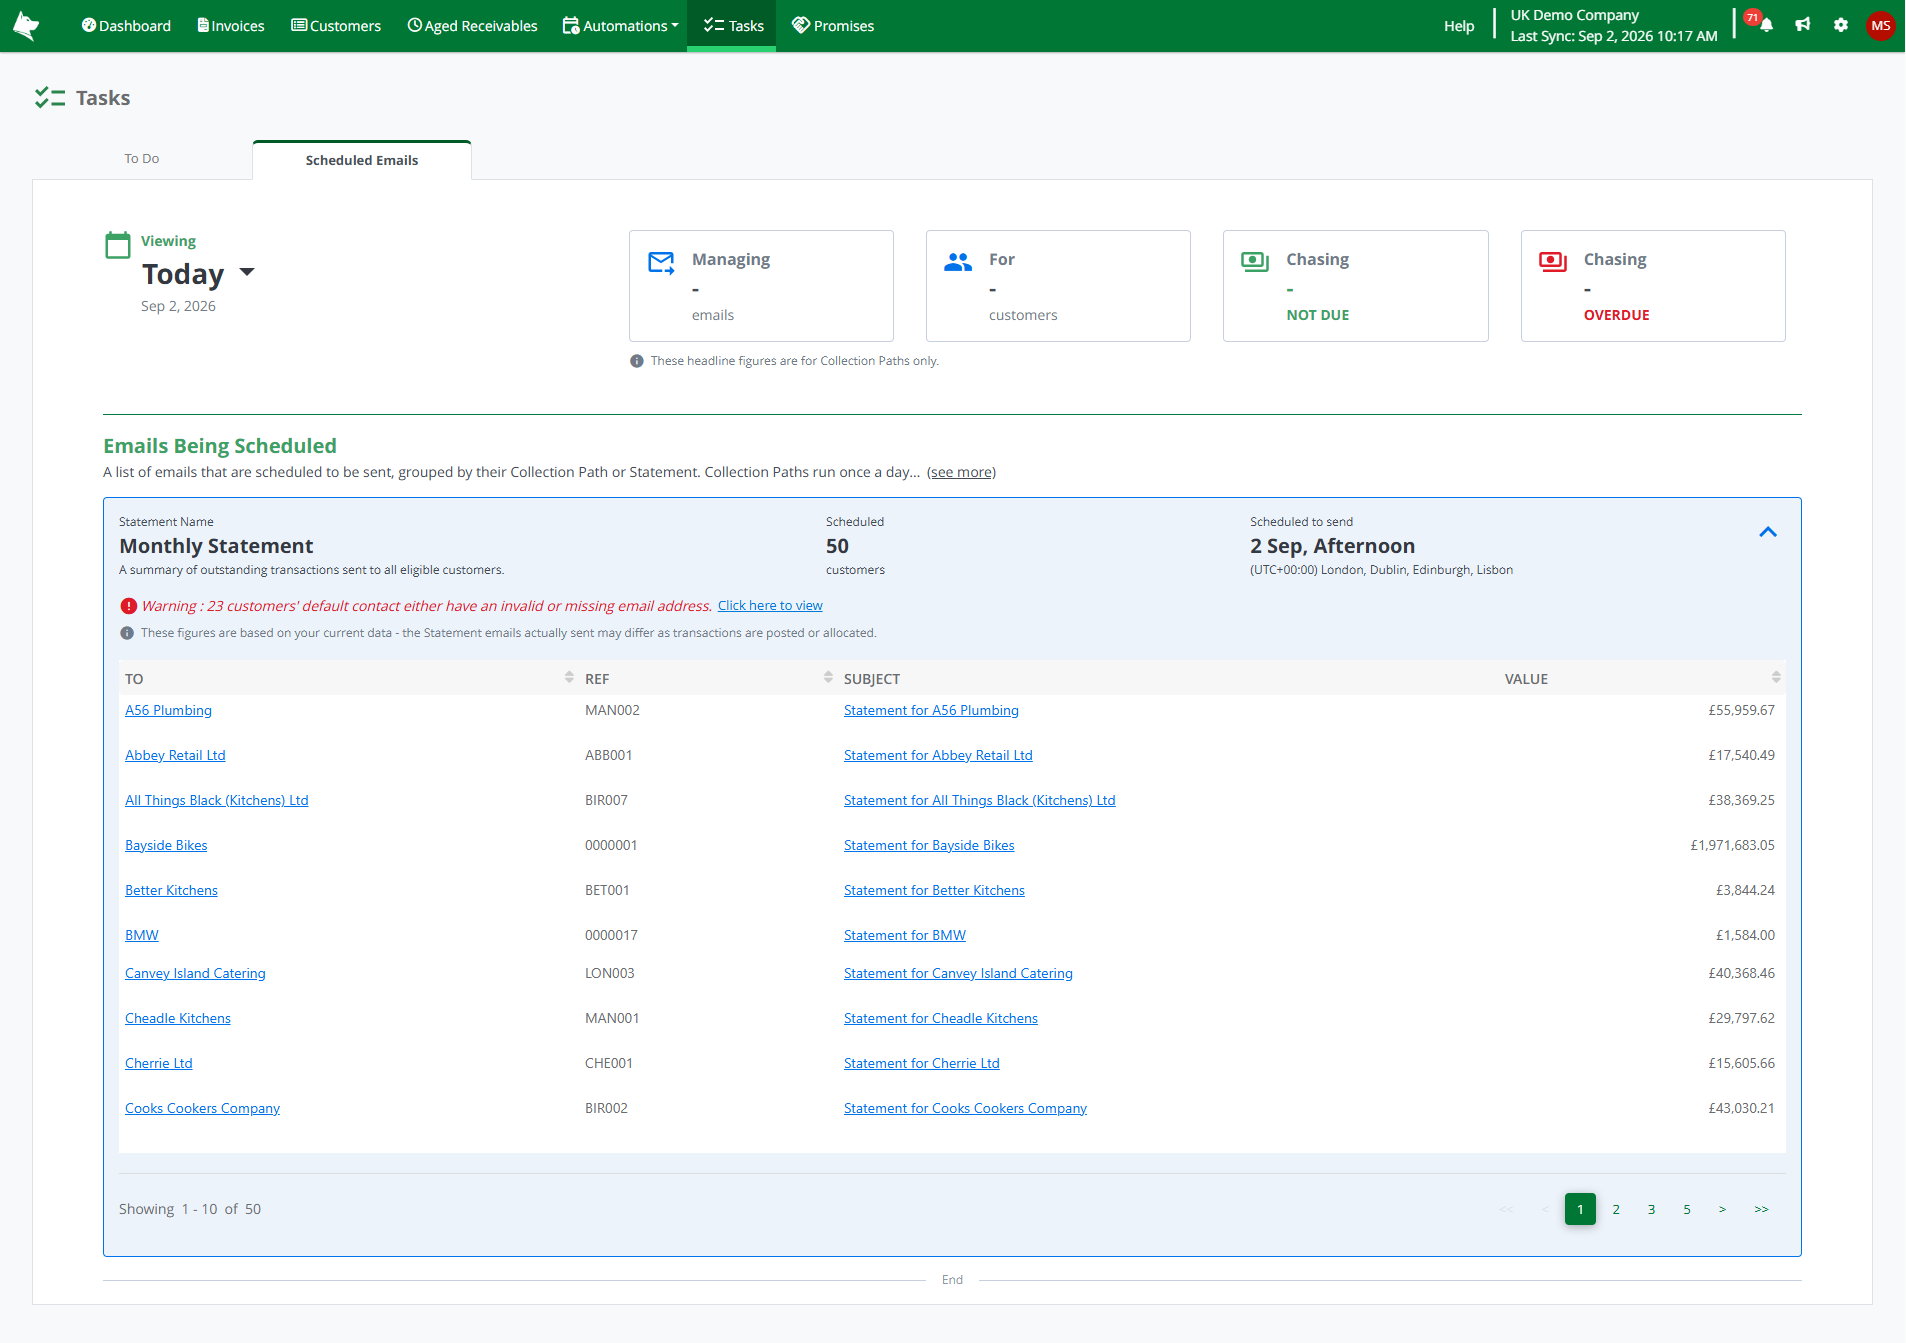
Tasks - Scheduled Emails - scheduled Statements
It's worth checking this screen before your first run, so you can see how many customers will be emailed and fix any email address problems first.
The value shown against each customer is the total of the transactions that will appear on their Statement. This may differ from the customer's balance, depending on what you have chosen to include. See What's included on a Statement.
These figures are based on your current data
The Statement emails actually sent may differ as transactions are posted or allocated. Each customer's Statement is generated at the point their email is sent, not when this screen is loaded.
The headline figures at the top of the Scheduled Emails screen cover Collection Paths only, so they won't include your scheduled Statements.
If no Statement is scheduled for the day you have selected, it won't appear in the list.
Sent Statements
Open Communications > Outgoing Emails to see Statement emails that have been sent. Each sent Statement appears as an individual entry, where you can:
View the email content as it was sent to the customer
Resend the original Statement email if needed
A resent Statement contains the same content as the original - it doesn't regenerate against current data.
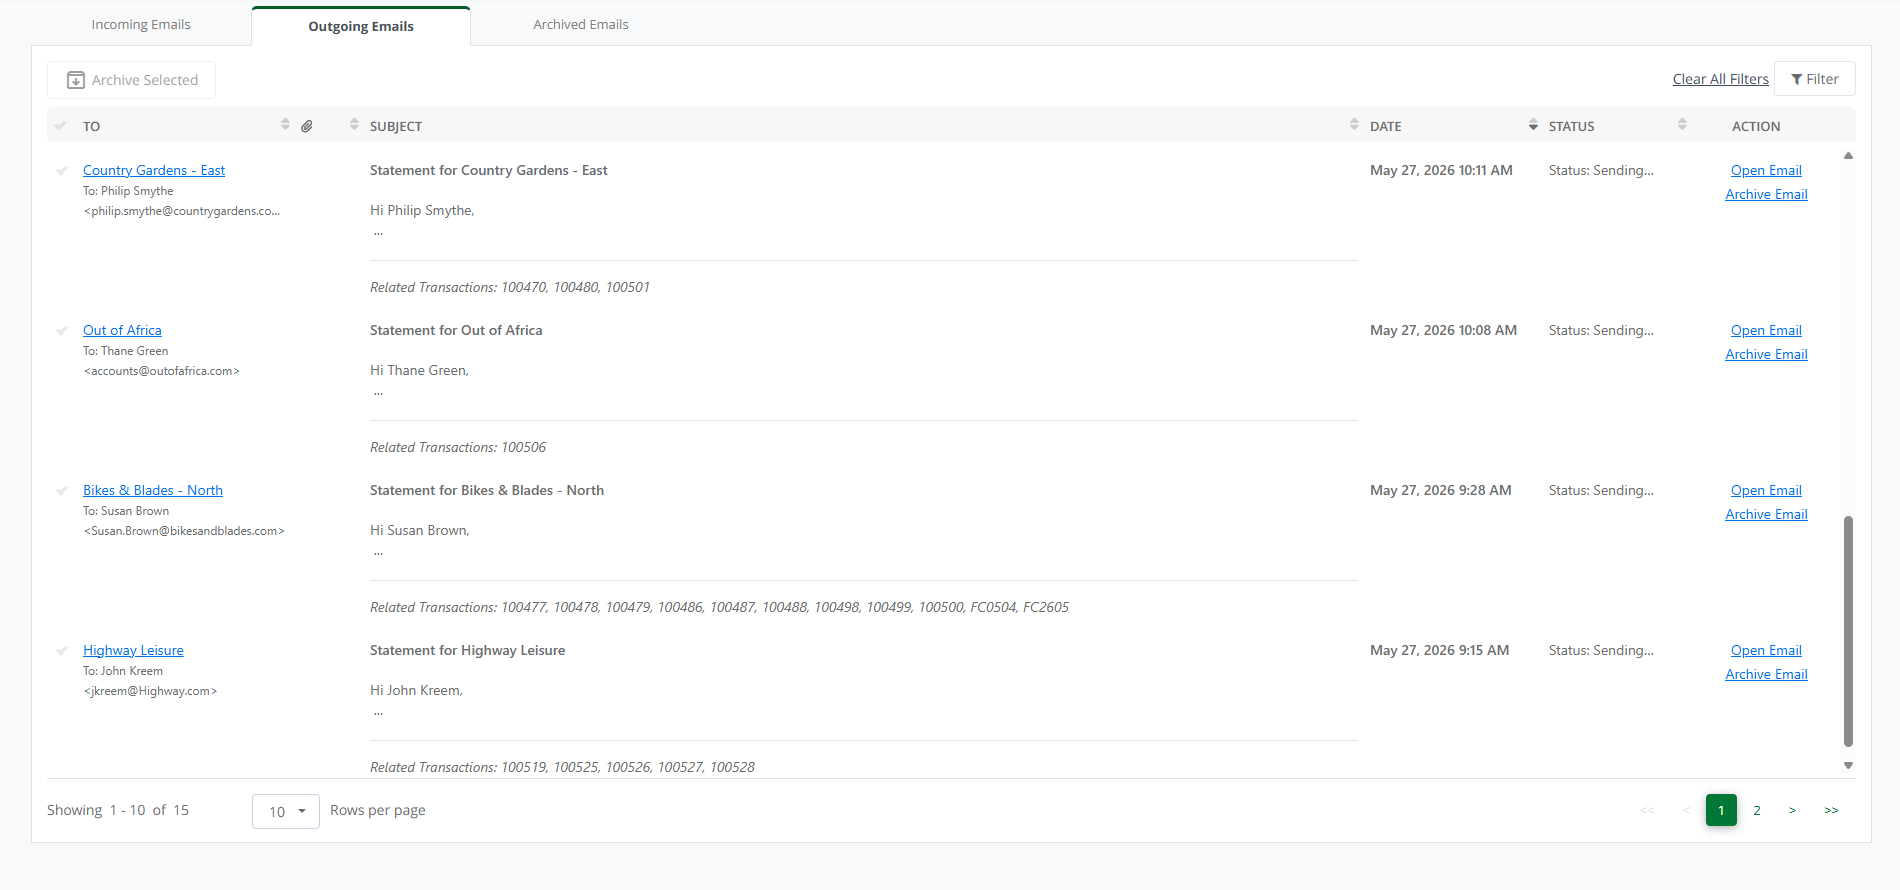
Communication - Outgoing Emails - sent Statements
Customers with email issues
If a customer has an invalid or missing email address on their default contact, they will be excluded from the Statement run. These customers appear in the Customer Email Issues widget so you can fix the email address before the next run.
For more on managing per-customer eligibility, see Opt a customer out of Statements.