
This article walks you through configuring your monthly Statement, from naming it through to setting up the email content.
Open the Statement configuration
Navigate to Automations > Statements to open the Statement configuration screen.
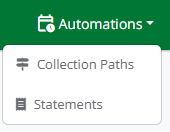
Automations menu
You'll see your default Statement (named 'Monthly Statement') ready to configure.
Name and Description
The Statement Name appears in the Tasks > Scheduled Emails screen and helps you identify the Statement. The Description is shown alongside the name for additional context.
The default Statement is called 'Monthly Statement' with the description 'A summary of outstanding transactions sent to all eligible customers.' You can edit both to suit your business.
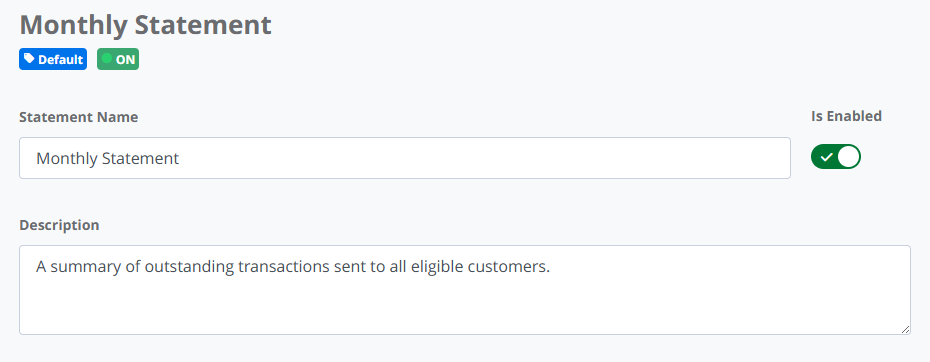
Statement Name and Description
Turn the Statement on
Use the Is Enabled toggle on the right of the page to turn Statements on for this dataset. All qualifying customers with an outstanding balance will be scheduled to receive a Statement at your configured execution time window and day.
You can globally turn Statements off again at any time.
When should we send it?
Choose the day of the month and the time window for your statements:
Send on
First day of month
Last day of month
Custom day of month - pick a specific day (1 to 31)
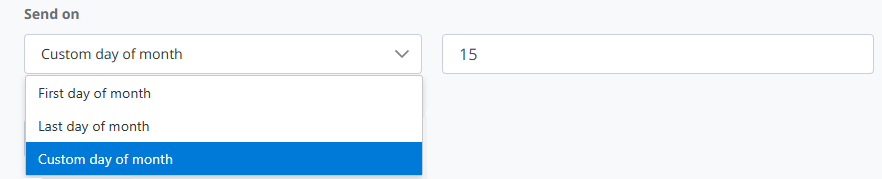
Statement execution time - pick Morning, Afternoon, or Evening
Statements will be sent on your chosen day during your chosen window. For more on timing, see When Statements are sent.
.png)
What to include
Use the 'What to include' checkboxes to control which transactions appear on the Statement:
Include outstanding credits, receipts, and other transactions that reduce the customer's balance - when on, unallocated credit notes and receipts appear in the statement and reduce the total balance shown. This is on by default so customers see their full account picture.
Include all promised transactions - when on, transactions where the customer has promised to pay appear in the statement. Off by default.
Include all disputed transactions - when on, transactions in dispute appear in the statement. Off by default.
Skip customers where the Statement total is zero or negative - when on, the customers whose Statement totals are zero or in credit do not receive a statement. On by default.
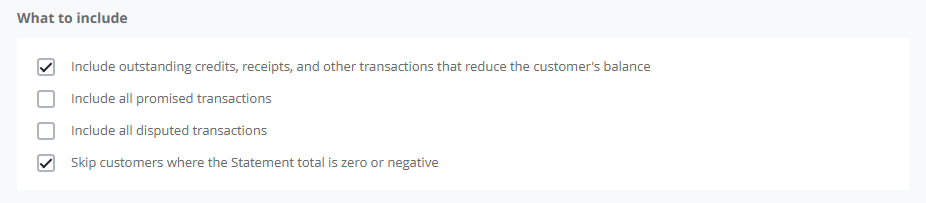
What to include section
Disputed transactions
When you include disputed transactions, they appear in the table alongside other transactions without a visual marker. Consider this when deciding whether to enable it, especially for customers with active disputes.
For more on which transaction types are included by default, see What's included on a Statement.
Configure the email
The right side of the configuration page contains the email settings:
Email Template - the template used for statement emails. A single 'Monthly Statement' template is provided.
The Subject and body will show the email content from the email template you have configured. See the Managing Email Templates article for more details.
If you do not want to use a predefined template and want to customise the email, select Don't use template. You can then add and edit the email content in the email editor.
If you are not using an email template, you will have to provide an Email subject to be used when sending the Statement email to your customer. You can use Custom Fields within the subject e.g. {{customerName}} for the Customer Name.
Email Subject - the subject line customers will see. The default is 'Statement for {{customerName}}'.
Email Body - the message your customers will read. You can edit this to suit your tone, add your company branding, and include personalised content.
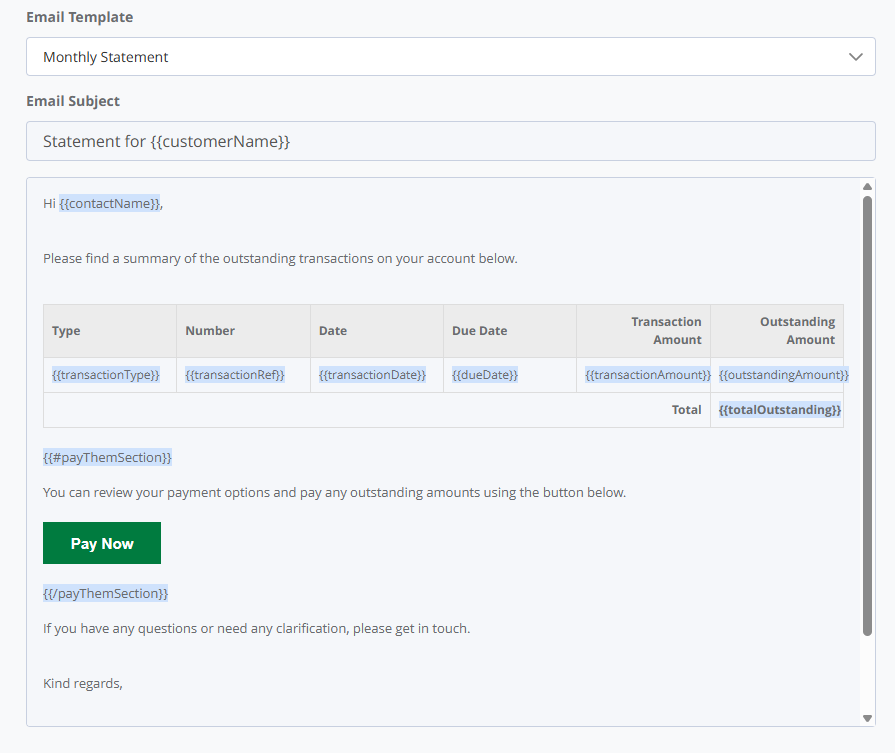
Statement - Email Template
Save your changes
Click 'Save' at the bottom of the page to save your configuration. Your next Statement run will use the settings you've saved.
To opt individual customers out of Statements, see Opt a customer out of Statements