Step-by-step Guide to Connect Infor SunSystems Cloud to Credit Hound Cloud
To start using Credit Hound Cloud with Infor SunSystems Cloud, you firstly need to configure Infor ION and SunSystems Cloud which then allows you to synchronize your customers, contacts and transactions with Credit Hound.
Prerequisites
Create Authorized App
In order to allow Credit Hound Cloud to authenticate with SunSystems Cloud, you first need to create Credit Hound Cloud as an Authorized Application within your Infor ION API Portal. You will need to login to SunSystems and agree to provide an access token, and at this point, the Authorized application will be granted the permissions that the user approving has in the system.
Creating a new Authorized Application
- Login to Infor OS Portal, navigate to Infor ION API and select Authorized Apps from the menu

- Click on the + button at the top of the screen to add a new Authorized App
- From the resultant screen. fill in the Application Name e.g., Credit Hound Cloud
- Select Web as the Type
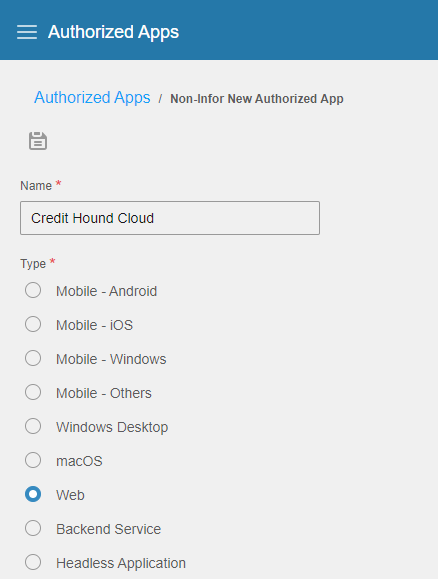
- You will now be presented with a number of fields that must be filled in
- Enter a Description of your choice e.g., Credit Hound Cloud for SunSystems Cloud
- Enter the following for Redirect URLs:
- https://my.credithoundcloud.com/companies/new/sunsystems
- https://my.credithoundcloud.com/companies/authentication/sunsystems
- There are the URLs for Credit Hound Cloud, which is where you will be redirected to after authentication. Redirect URLs prevent unauthorized redirections.
- https://my.credithoundcloud.com/companies/new/sunsystems
- Enter the following URL for Authorized JavaScript Origins: https://my.credithoundcloud.com
- The Access Token can be configured as 2 Hours
- Enable Issue Refresh Tokens
- Configure the Refresh Token Grant Lifetime. It can be set to Hours and Days.
- '0' signifies the maximum lifetime i.e., 30 days (recommended)
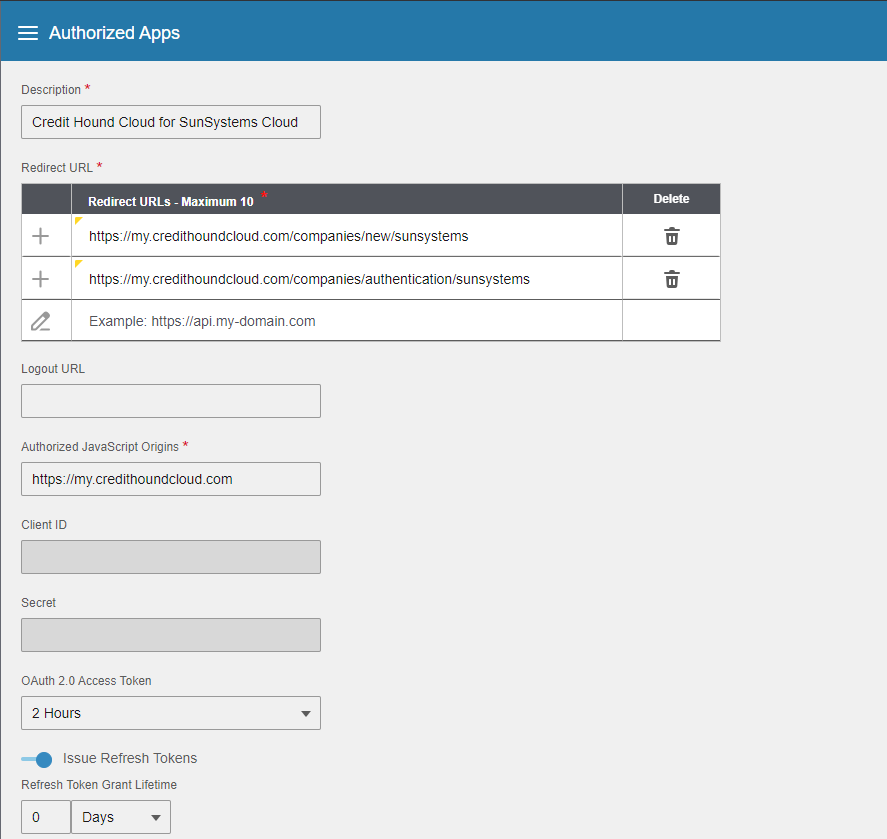
- Click on the Save button icon at the top of the screen to create the authorized application
- Navigate back to Authorized Apps and you will see the newly created Authorized App should be displayed in the list
Download the credentials for the Authorized App
In order to download the Credentials file for use during Credit Hound Cloud's Add Company Wizard, follow the steps below:
- Login to the Infor ION API portal > Authorized Apps
- Go to Authorized Apps and click on your newly created Authorized App name
.png)
- Click on the Download Credentials button
- Choose any previously entered Redirect URL and click on Download.
- Save the file and keep it secure. The file will have an extension of .ionapi. This file will be used and uploaded during the creation of a company in Credit Hound Cloud (and subsequently for future use within Credit Hound Cloud's Company Settings.)
Ensure the Report Model is synchronized
So that Credit Hound Cloud can execute API calls to SunSystems Cloud, there is a prerequisite that the Business Units' Report Model is synchronized. Without this step, errors are returned back from the API to Credit Hound Cloud. Please ensure the following step is completed:
- Log into your SunSystems Cloud application, search and navigate to the RMD function to access Report Models
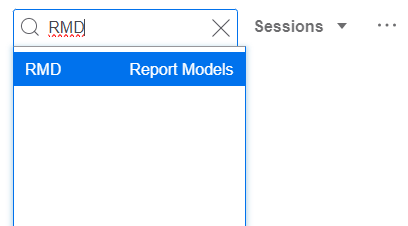
- Select the Business Unit you will be linking to Credit Hound Cloud
- Click on the Synchronize button at the top

- Ensure the Status in the grid displays Synchronized against the relevant Business Units
Connecting SunSystems Cloud to Credit Hound Cloud
- Logon to Credit Hound at https://my.credithoundcloud.com
- If this is your first time setting up Credit Hound, you will be presented with the Welcome to Credit Hound screen where you can select your time zone from the drop-down list
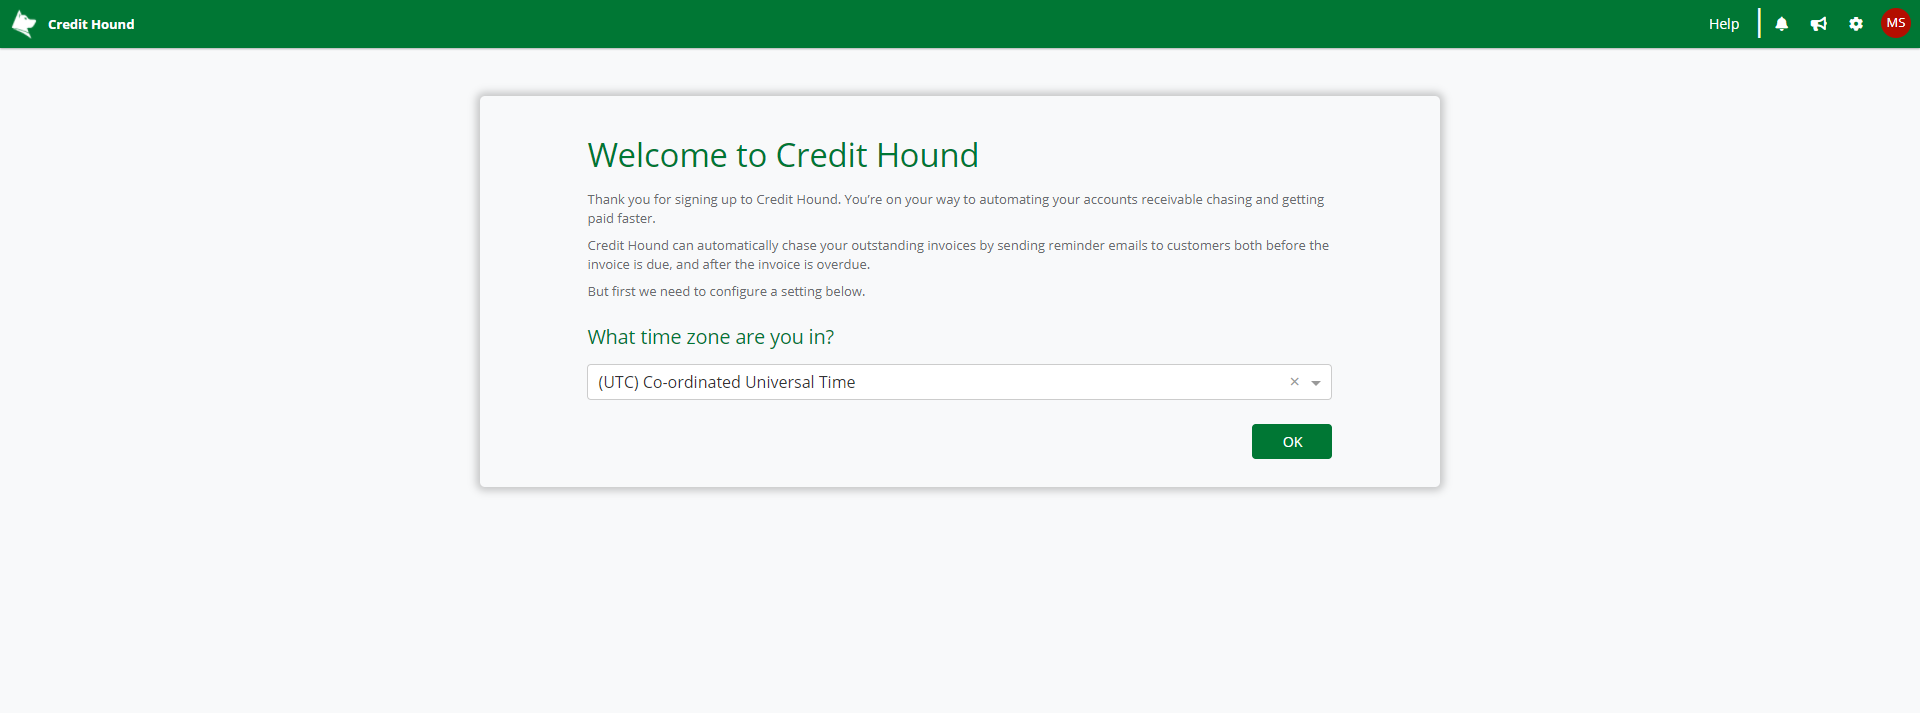 Time Zone selection
 - Click the OK button
- You will now be presented with the Add Company Wizard screen. This wizard will take you through connecting your accounting data to Credit Hound.
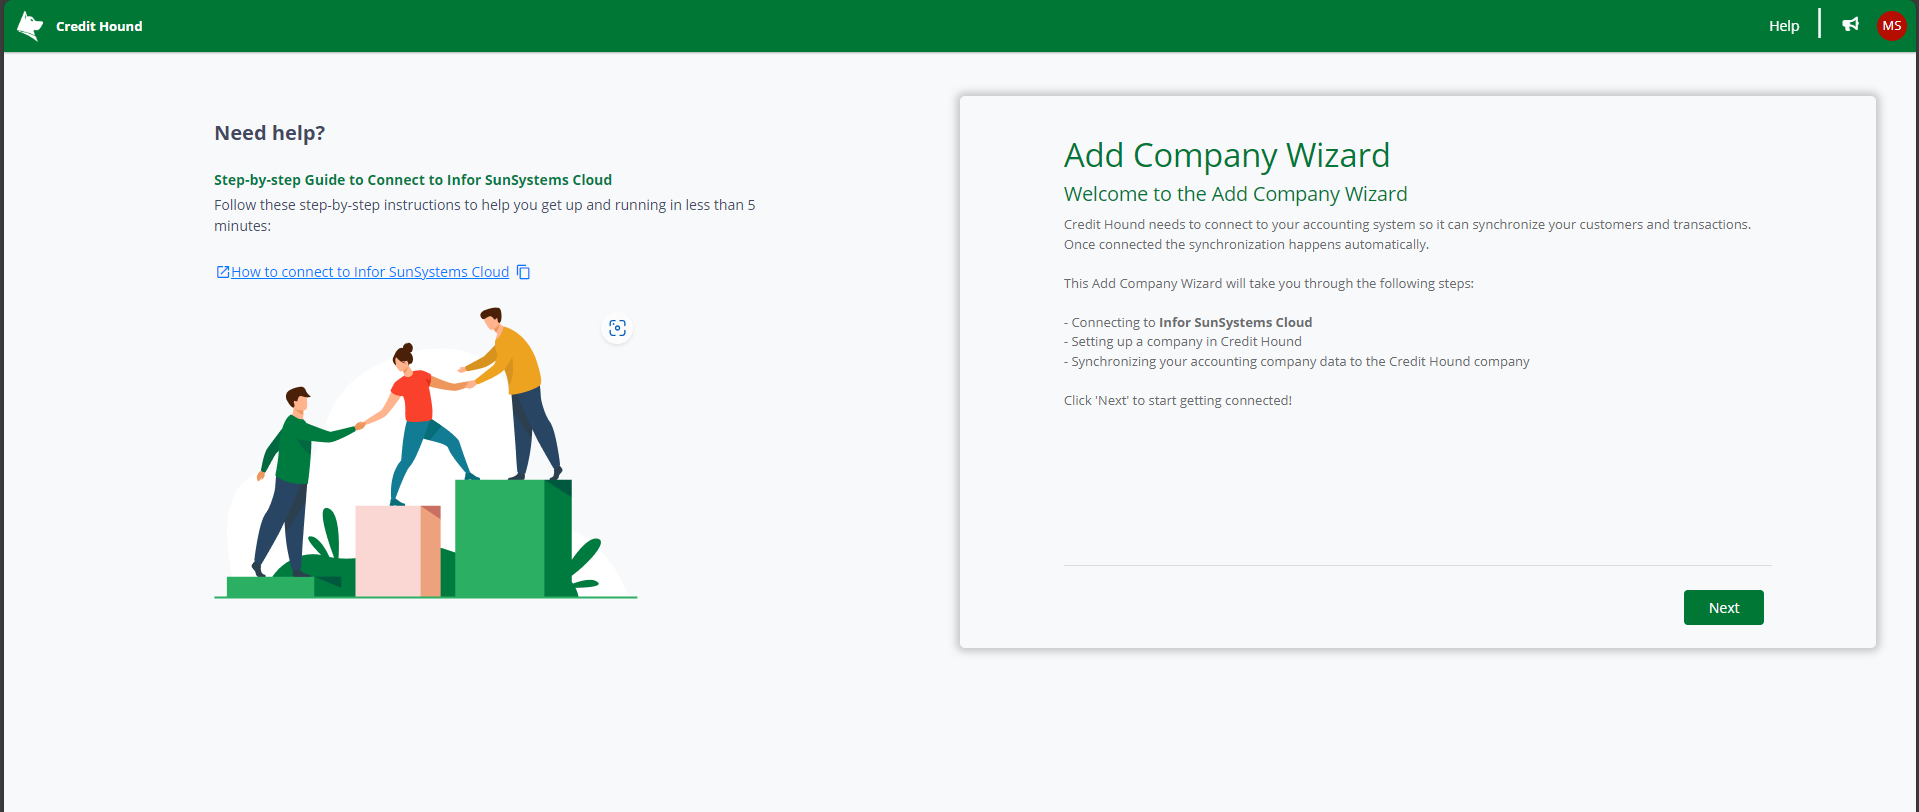
- Click the Next button
- From the Upload your Authorized Application Credentials page, click on Choose file and select your previously created Authorized Application Credential file
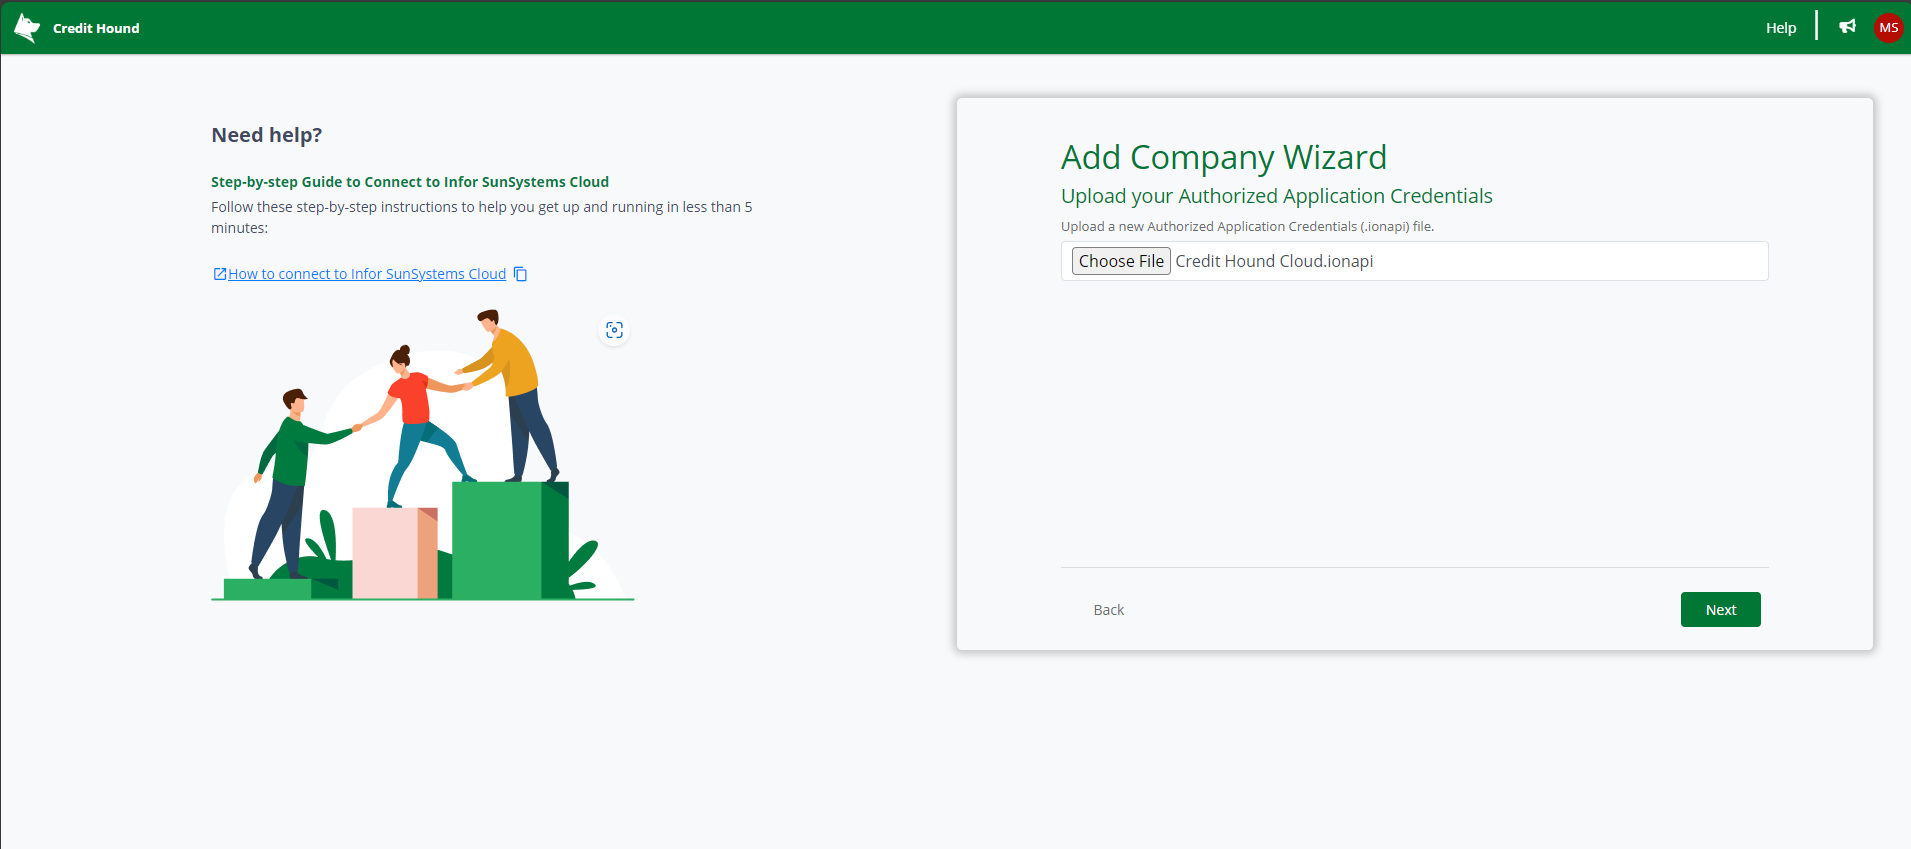
- Credit Hound will redirect you to Infor SunSystems Cloud

- Login to SunSystems Cloud with your Infor login credentials
- The User being used to login to Infor SunSystems Cloud must be an Active user and not Locked.
- The same user who created the Authorized App file will need to login here
- The authorized application will authenticate as a proxy for this named user in the system, and the authorized application will have the same permissions as the named user that it represents. Once you log in and agree to provide an access token, at this point Credit Hound Cloud will gain the permissions that the approving user has in the system.
- You will now need to authorize Credit Hound Cloud to have access to your Infor SunSystems Cloud dataset. To do this, click on the Allow button
.png)
- The Add Company Wizard will begin to load your company.
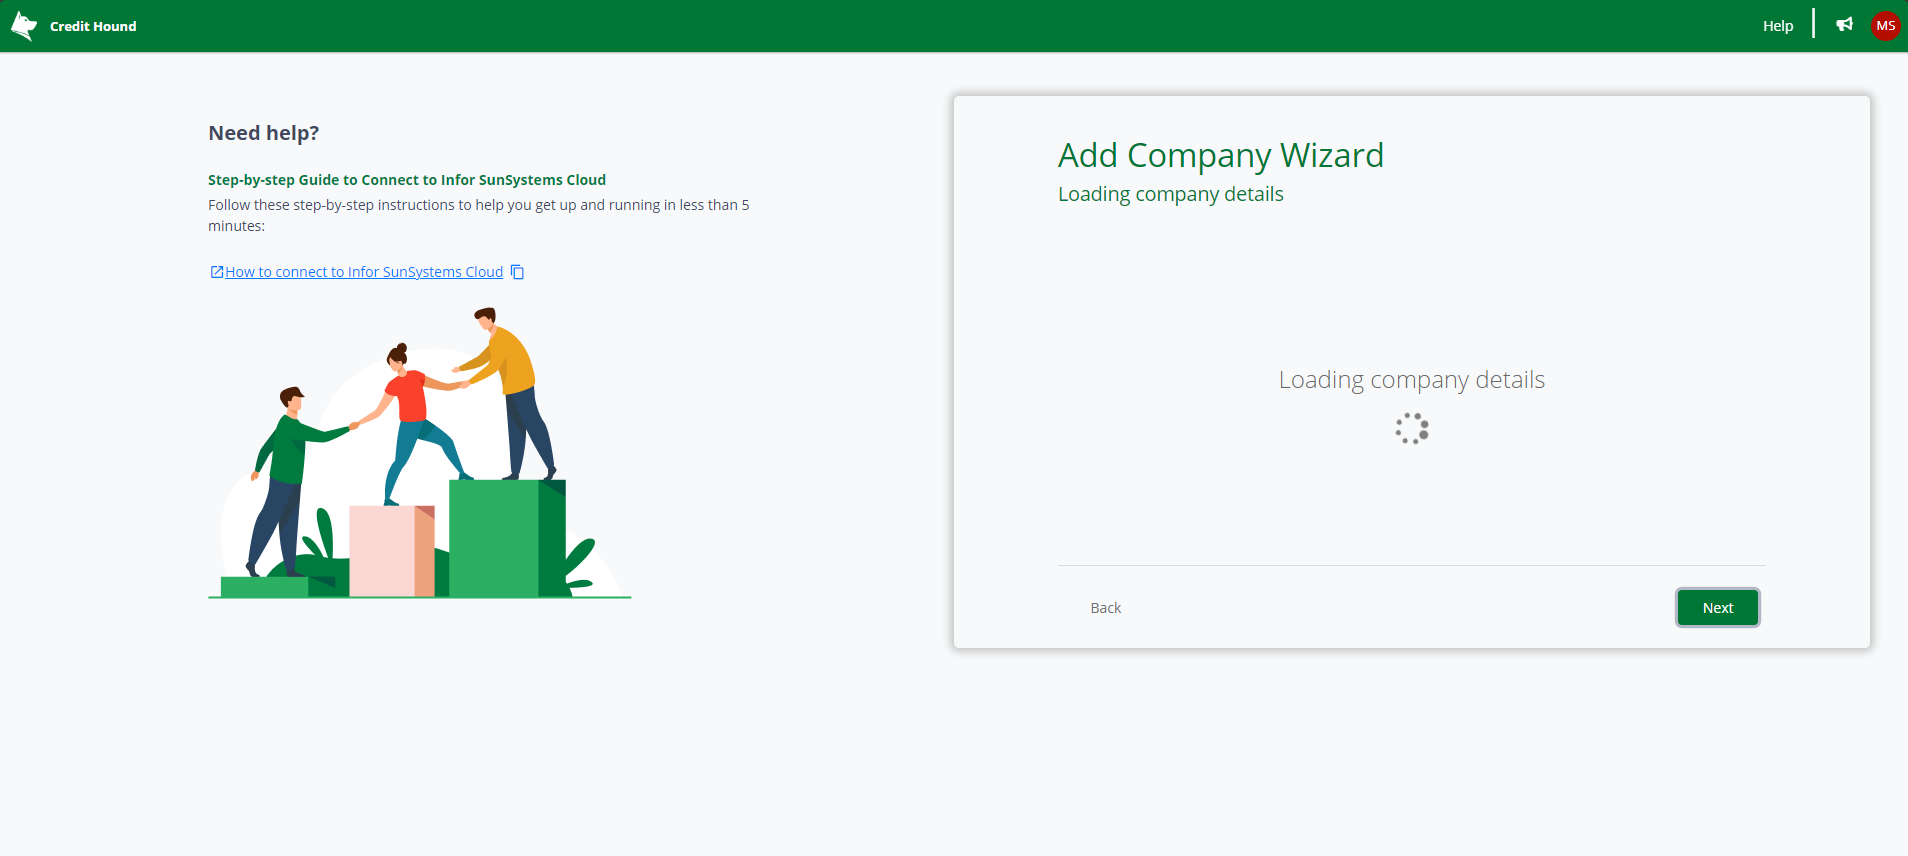
- If you have multiple Business Units in SunSystems Cloud, select the one you want to use with Credit Hound by clicking on the company.
- Once you have selected a company the following screen shows the company details we will register with Credit Hound. You can change any details here or fill in missing fields such as your email address, company website and telephone number etc.
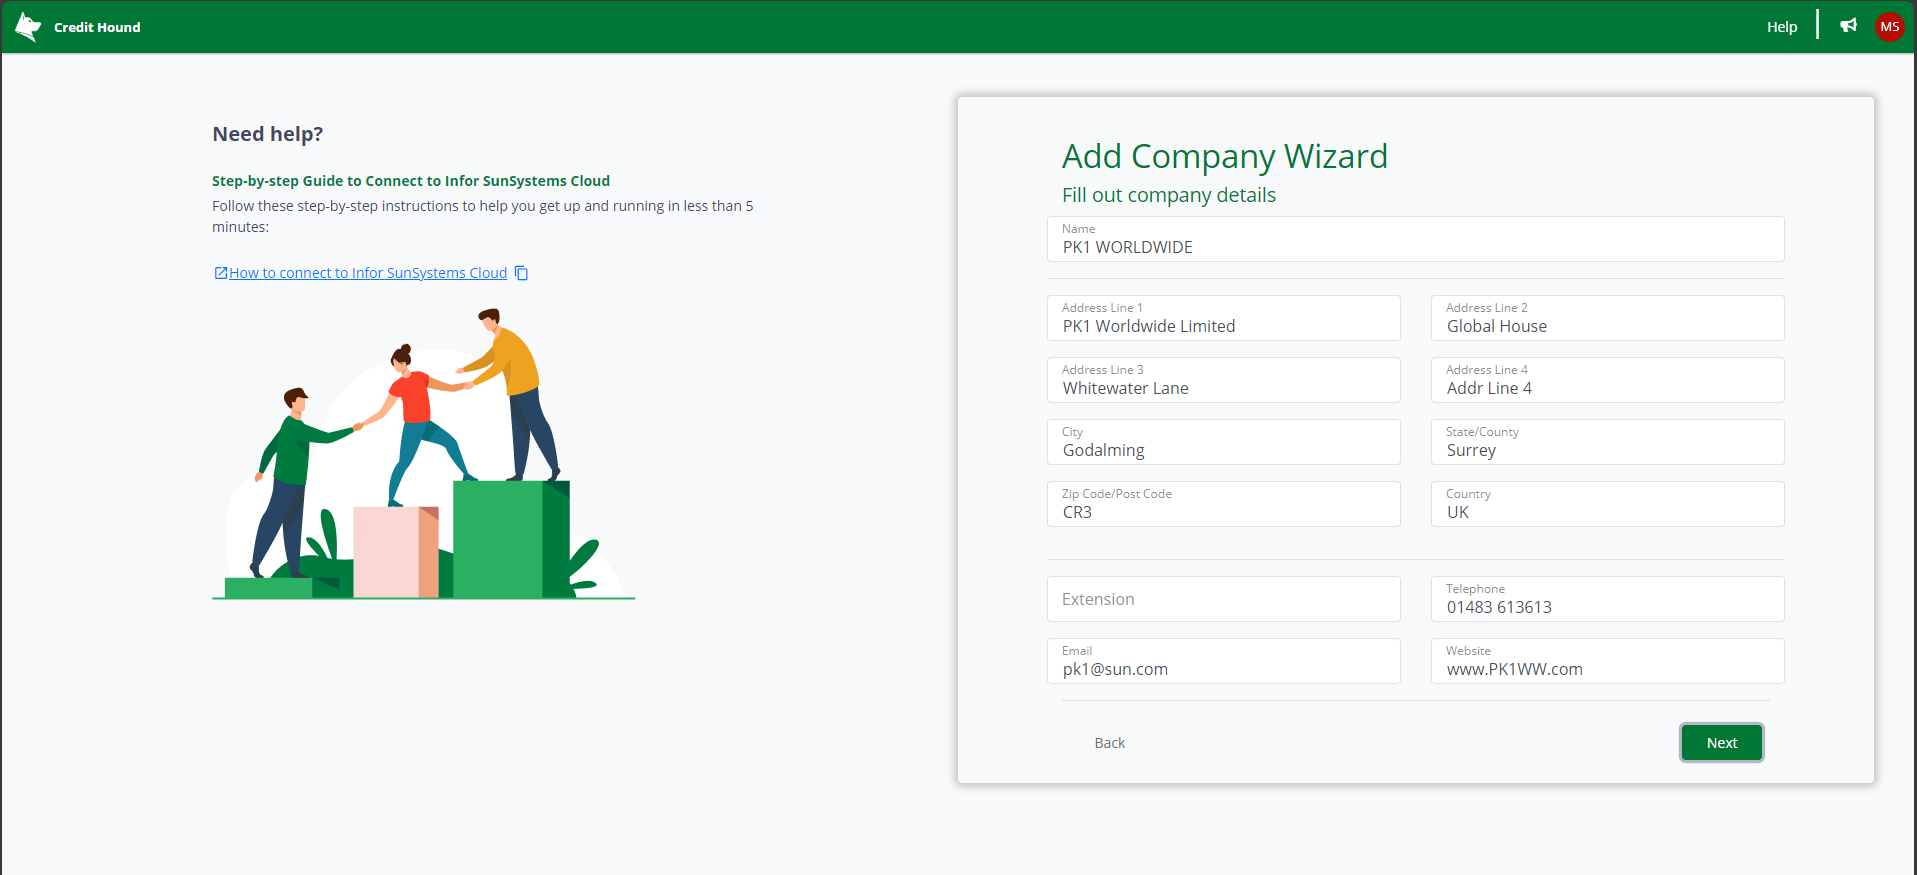
- Click Next
- Now you need to associate relevant SunSystems Journal Types to Credit Hound Cloud transaction types. The resultant grid allows you to select the Journal Types to map to Credit Hound Cloud transaction types. Click 'Add' in the SunSystems column against each Credit Hound type. The list of Journal Types will load.
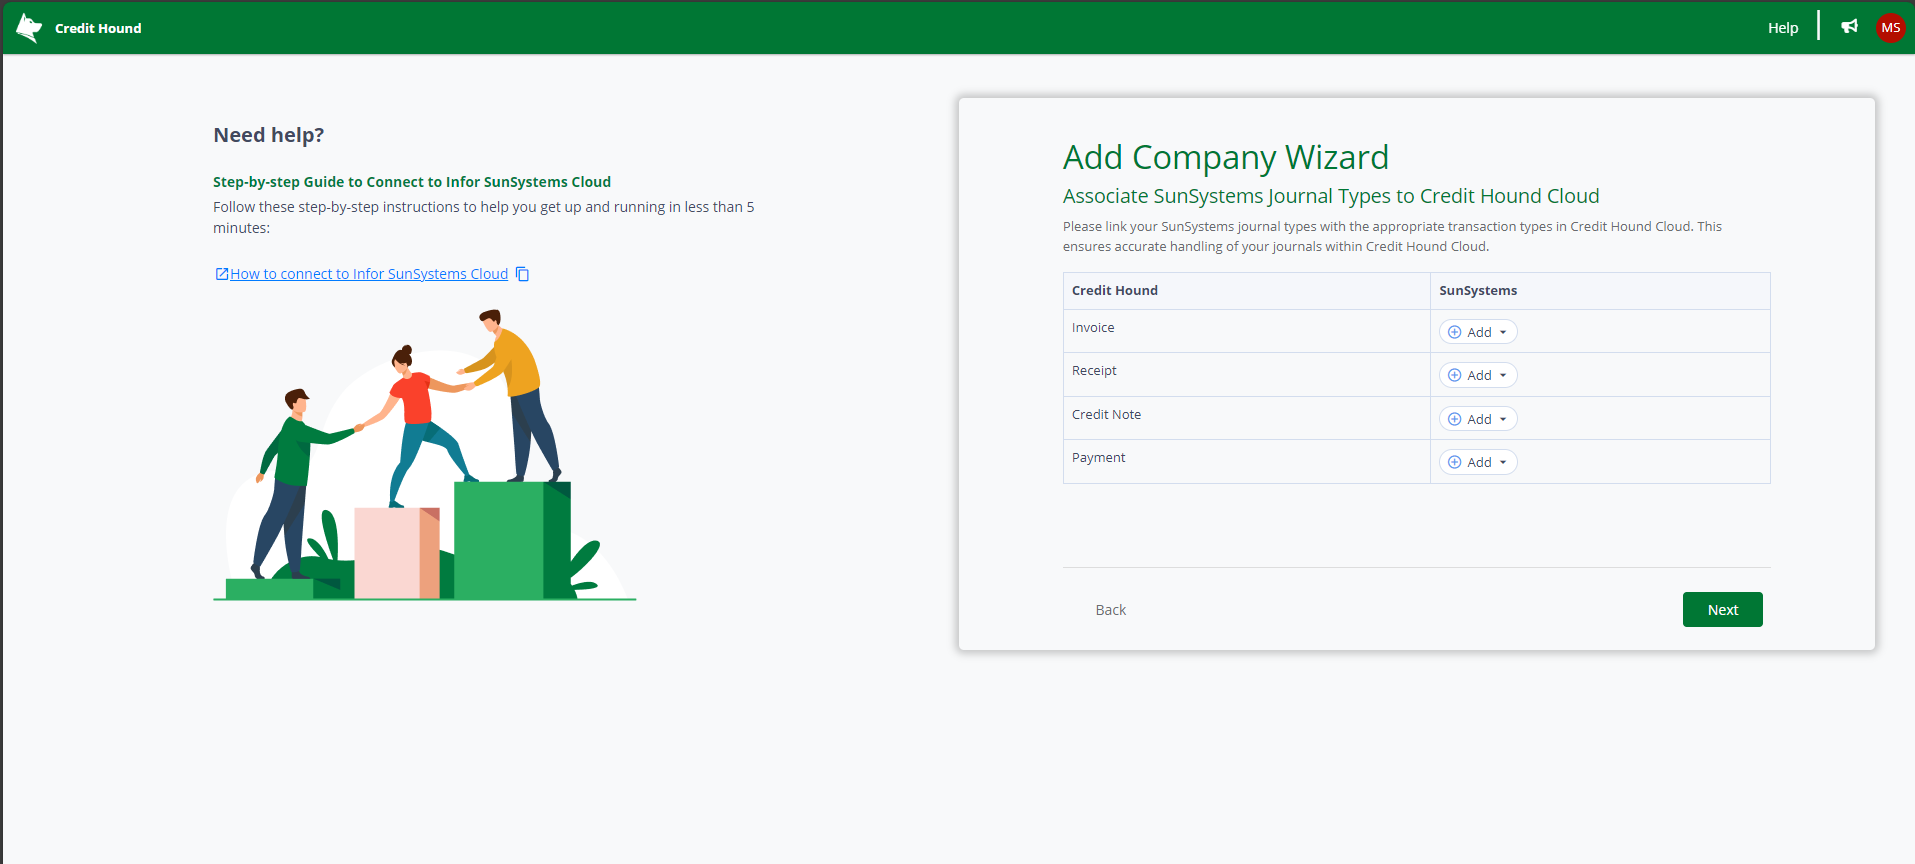 Below is a description of each Credit Hound Transaction Type:
| Credit Hound Transaction Type | Description |
| Invoice | Maps to a standard invoice. |
| Receipt | Maps to a standard receipt. Money that is paid to you by a customer. |
| Credit Note | Maps to a standard credit note. |
| Payment | Use a transaction of this type when you have paid money to your customer. For example when you have refunded money to a customer when a cheque has been returned. |
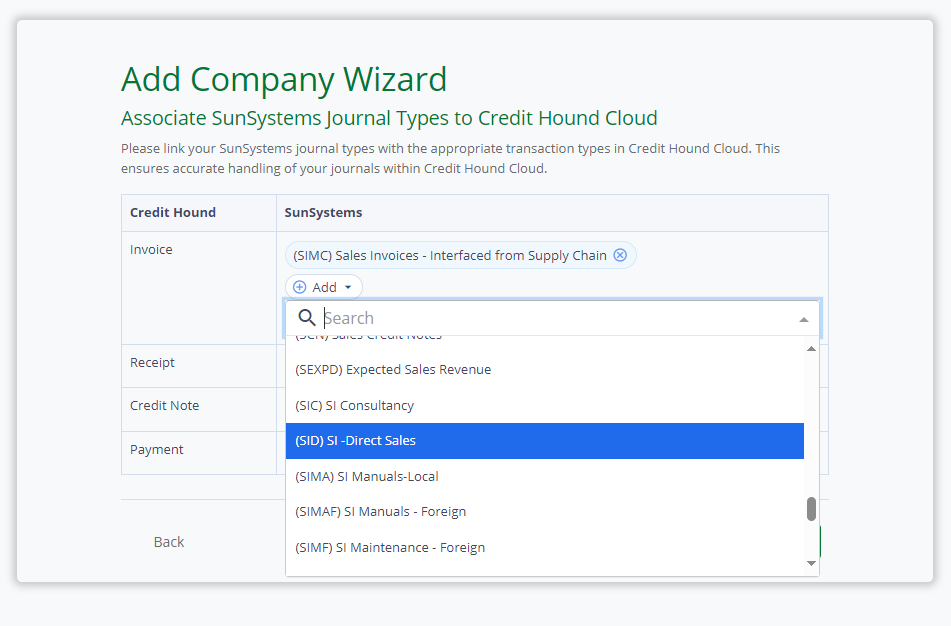
Note: As a minimum, you must map at least one Invoice type as Credit Hound Cloud uses this type for auto-chasing Invoices as part of Collection Paths.
- Click Next
Congratulations, the Add Company Wizard is complete. You will be taken into Credit Hound Cloud and the data will begin to synchronize.
It may take some time for your data to synchronize. Give it a few moments and refresh the screen.