
PayThem allows you to request for the instant payment of your outstanding invoice(s) from your customers. You can send emails to your customers via Credit Hound Cloud with a PayThem button. When a customer clicks on the button, it redirects your them to our secure PayThem payment page listing the invoices selected that are due for payment.
In order for the PayThem integration to send emails with PayThem buttons, you need to configure and link your PayThem company to your Credit Hound Cloud company in PayThem Settings.
PayThem Button - Manual Emails
When sending a manual email to your customers, there are certain conditions in which a PayThem button can be added to your outgoing email.
- The transaction types of the selected transactions are all Invoices.
- If any other transaction type is selected, or no transactions are selected, the PayThem button will be disabled from selection.
- The selected invoices must be in the same currency.
- For example, if the invoice INV001 in GBP is selected, then the subsequent selected invoices should be in GBP also.
- If the invoices selected are in different currencies, the PayThem button is disabled from selection.
PayThem Button - Collection Paths
In Collection Paths configuration, you can choose whether to use a pre-existing template that has a PayThem button already on it, or you can decide to not use a template at which point you can select the PayThem button from the email editor.
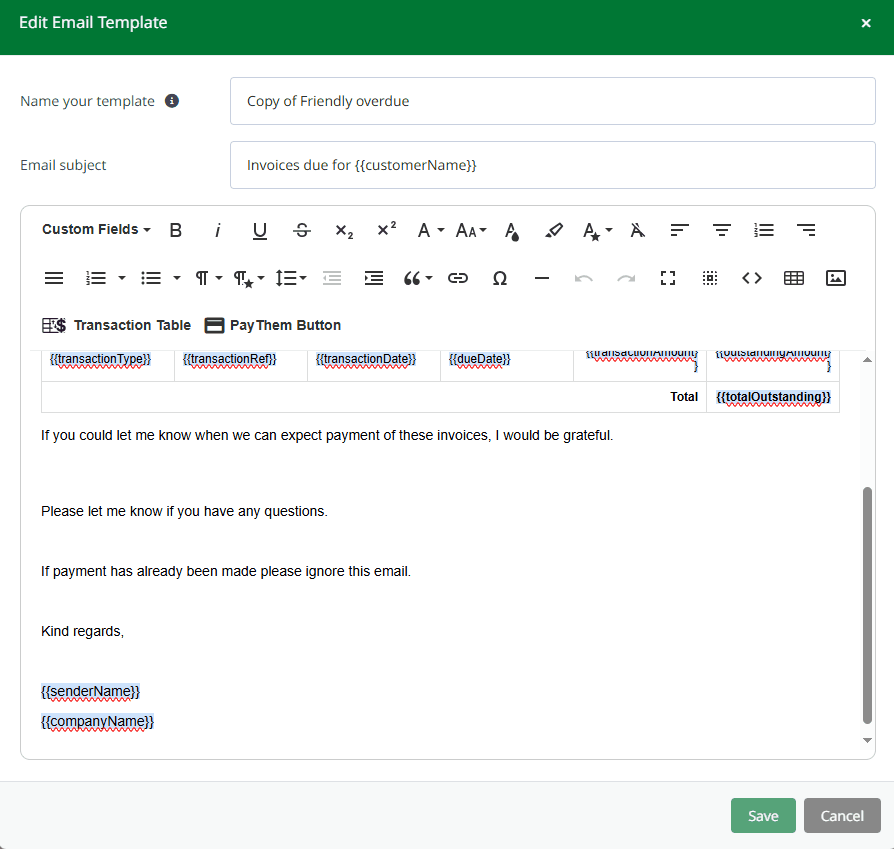
PayThem Button - Email Templates
You can insert the PayThem button on your email templates for use by manual or automated emails.
Additionally, using the custom field {{#payThemSection}} on your email templates allows you to only include payment related content within this section (such as the PayThem button) only if:
- PayThem has already been configured for Credit Hound Cloud i.e. a Credit Hound Cloud Company has been linked to a PayThem company.
- There is at least one outstanding invoice on the outgoing email.
This means if there is no outstanding invoice on the email, the content in the PayThem Section would not be sent to your customer.
 Email Template - PayThem Section
- Go to Settings > Email Templates.
- Click Add New Template, if creating a new template or Edit if editing an existing template
- The Email Editor will appear.
- Click in the body where you would like to position and insert your PayThem Section
- Click the Custom Fields button and select PayThem Section
- This inserts the PayThem Section Custom Field where your mouse cursor was placed
{{#payThemSection}}
- Start typing the message you want to appear to your customers to review their payment options.
- Click the PayThem Button button from the email editor menu.
- Compose the rest of your email template and click Create once happy.
Can I have more than one PayThem Section?
Yes, it is possible to construct your email in a way that has multiple Pay Them Sections.
Can I place the PayThem button in the PayThem Section?
You can place the PayThem button inside or outside the section. For example, you may want to have some text inside the section in the first paragraph and a PayThem button at the end of the email.
How do I change the PayThem button style?
To control how your contacts see the payment button, aligned with your branding and messaging, you can change the PayThem Button Style in Company Settings > PayThem Settings.
For example, you may want the PayThem button in your outgoing emails to guide customers to view documents, such as invoices uploaded to PayThem via Spindle Document Distribution, or review their payment options, rather than simply prompting them to make a payment.