
This article explains how to move the Credit Hound Connector Agent to a different server - for example when replacing hardware or migrating your accounting system to a new machine.
This applies to on-premise connectors only: SYSPRO, Sage 50 Accounts UKI, Sage 50 Accounting - US Edition, Sage 50 Accounting - Canadian Edition, Sage 100 and Sage 200 Professional.
Before You Start
Make a note of the following, as you will need it on the new server:
Your Credit Hound Cloud login email address and password
Your accounting system login credentials
The connector's accounting system settings (server name, database or data path, and company name)
Whether the Credit Hound Connector Service has been changed to run as a specific Windows user - see Step 5
The new server must be able to reach your accounting system data and have an internet connection.
Step 1: Remove the connector on the old server
Launch the Credit Hound Agent from the Start Menu
Go to Accounting Connectors and select your company
Click Remove and confirm
Repeat for each connected company
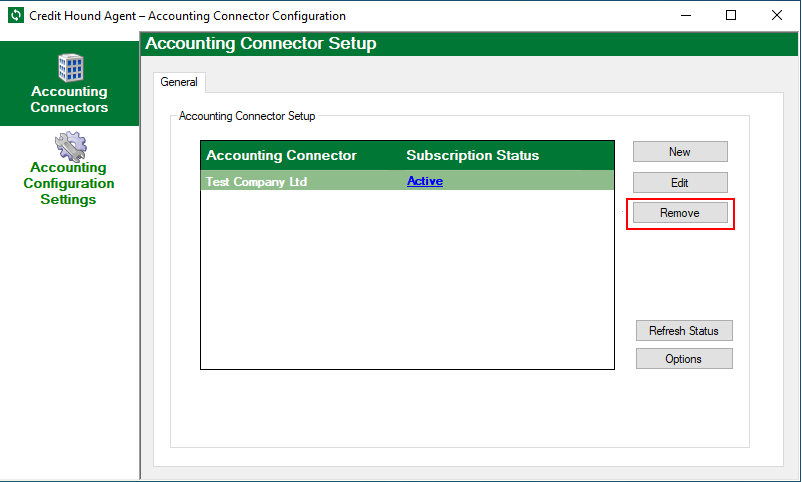
Removing a connector in the Credit Hound Agent
Step 2: Uninstall the Agent from the old server
Uninstall the Credit Hound Connector Agent through Settings > Apps, or Control Panel > Programs and Features on older versions of Windows.
Uninstall before you install
Do not install the Agent on the new server while it is still installed and connected on the old one. Two Agents synchronising the same company to Credit Hound Cloud will cause duplicate transactions and other data errors.
Step 3: Install the Agent on the new server
Download and install the Credit Hound Connector Agent on the new server, following the installation article for your accounting system.
Install on the server
The Agent should be installed on the server that holds your accounting system data, not on an individual client PC. Only one Agent may be installed per company.
Step 4: Recreate the connector
Launch the Credit Hound Agent on the new server and go to Accounting Connectors
Click New
Select your Accounting System and follow the normal setup procedure for that accounting system
When prompted, sign in with your Credit Hound Cloud email address and password
On the next Credit Hound Company Setup screen, select Select an existing Credit Hound Company and choose your company from the drop-down list
Click Finish on the Setup Complete page
Repeat these steps for each company you removed in Step 1, selecting the matching company from the Select an existing Credit Hound Company list each time
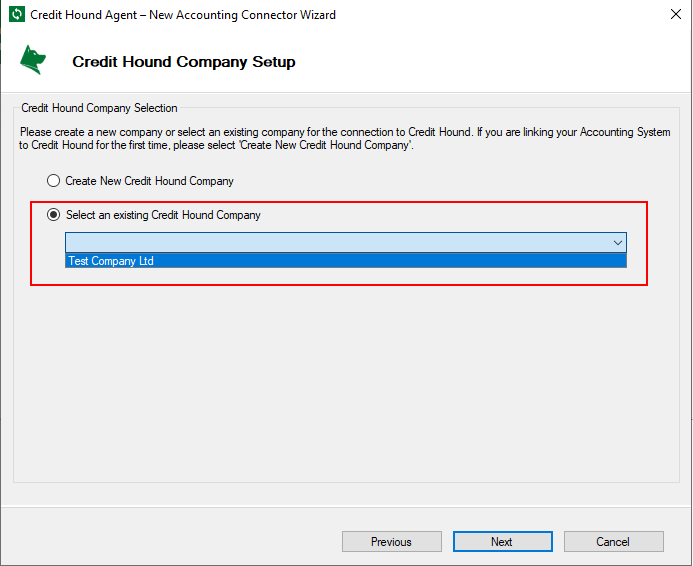
Selecting your existing Credit Hound company in the New Accounting Connector Wizard
You must choose Select an existing Credit Hound Company
This reconnects the Agent to your existing Credit Hound data and preserves your invoices, chase history and settings. Choosing Create New Credit Hound Company will set up a separate, empty company instead.
Step 5: Check the service Log On account
By default the Credit Hound Connector Service runs as Local Service, and a new installation will be set up this way automatically. No action is needed unless your previous installation was changed to run as a specific Windows user. This setting is held on each computer individually and does not transfer to the new server.
If a specific Windows user was used for the Credit Hound Connector Service previously:
On the new server, click Start, type Services, and click the Services app (you can also run services.msc from the Run dialog)
Right-click the service named Draycir Credit Hound Connector_ followed by a long reference number, and click Properties
On the Log On tab, select This account and enter the user's credentials
Click OK, then right-click the service and click Restart
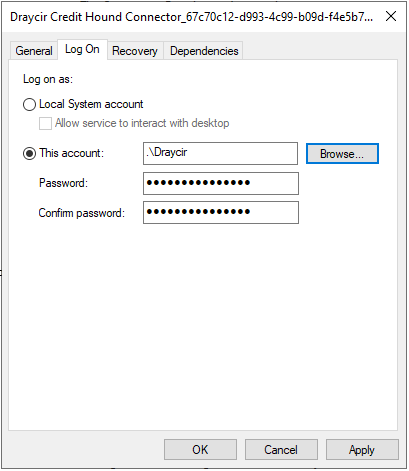
Setting the Log On account for the Credit Hound Connector Service
Step 6: Confirm the connector is working
In Services, confirm the Draycir Credit Hound Connector_ service shows a status of Running
In the Agent, confirm your company shows a Subscription Status of Active
Wait for the next synchronisation interval, then check that the Last Sync time at the top of the page in Credit Hound has updated
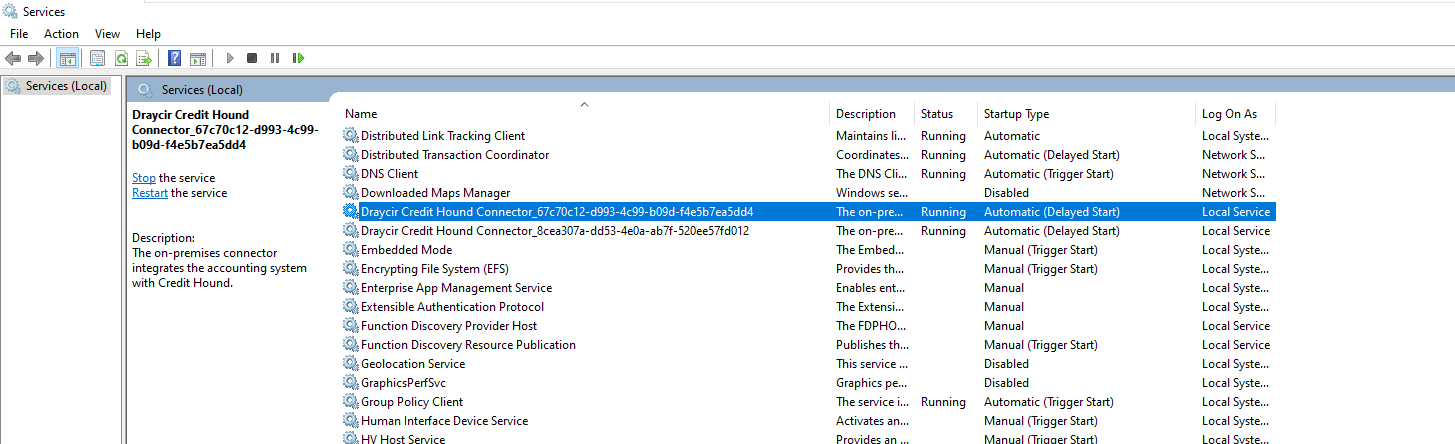
Confirming the Credit Hound Connector Service is running
If your data has not updated after a full synchronisation cycle, follow Resolve Sync Issues