
To start using Credit Hound Cloud with Sage 50cloud Accounts UKI, we need to synchronize your customers and transactions with Credit Hound Cloud. To do this, you need to install the Credit Hound connector agent on to the server running Sage 50.
Step-by-step Guide to Connect Sage 50cloud Accounts UKI to Credit Hound Cloud
You can follow these step-by-step instructions to help you get up and running:
Prerequisites
Please make sure you have the following ready before you start.
- A server to install the connector agent on. The Credit Hound Cloud connector agent must be installed on the server where your Sage 50 Accounts data is held. It only synchronizes data from Sage 50 up to Credit Hound Cloud while that machine is turned on and connected to the internet.
- Administrator rights on that server, to install and run the connector agent.
- Sage 50 Accounts login details for a user with access to the company you're connecting.
- Credit Hound Cloud login details for the person who originally signed up to Credit Hound. Partway through, the connector agent wizard asks you to sign in to Credit Hound Cloud so it can create your company. This should be the account that originally registered for Credit Hound. If your IT team is carrying out the installation, make sure that person is available at this point.
Download the Connector Agent
- Logon to Credit Hound at https://my.credithoundcloud.com
- If this is your first time setting up Credit Hound, you will be presented with the Welcome to Credit Hound screen where you can select your time zone from the drop-down list
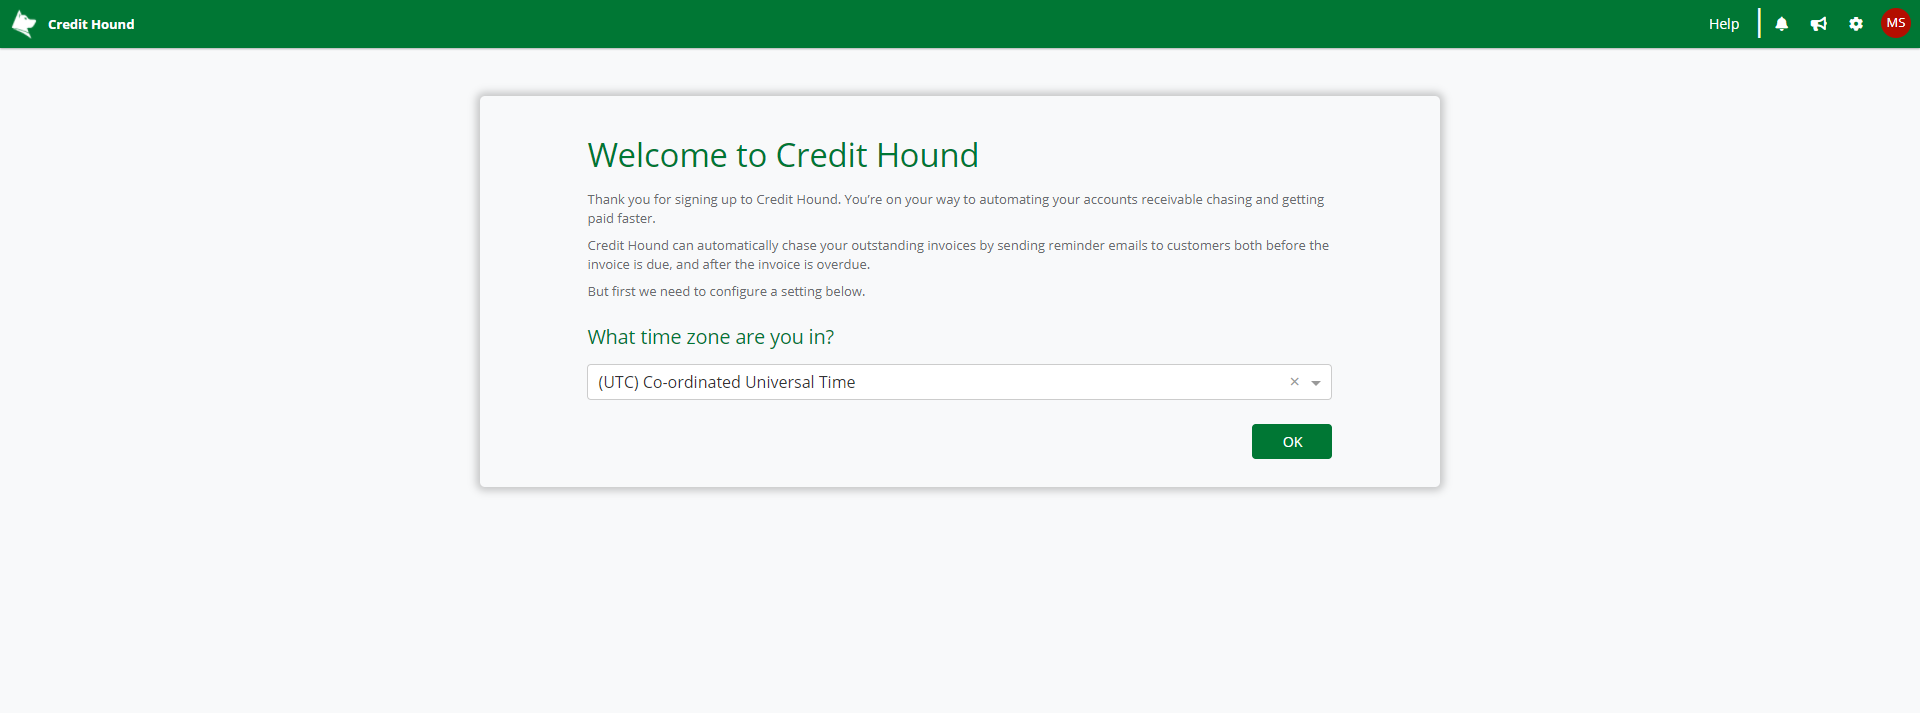
- Click the OK button
- You will be presented with the Add Company Wizard screen
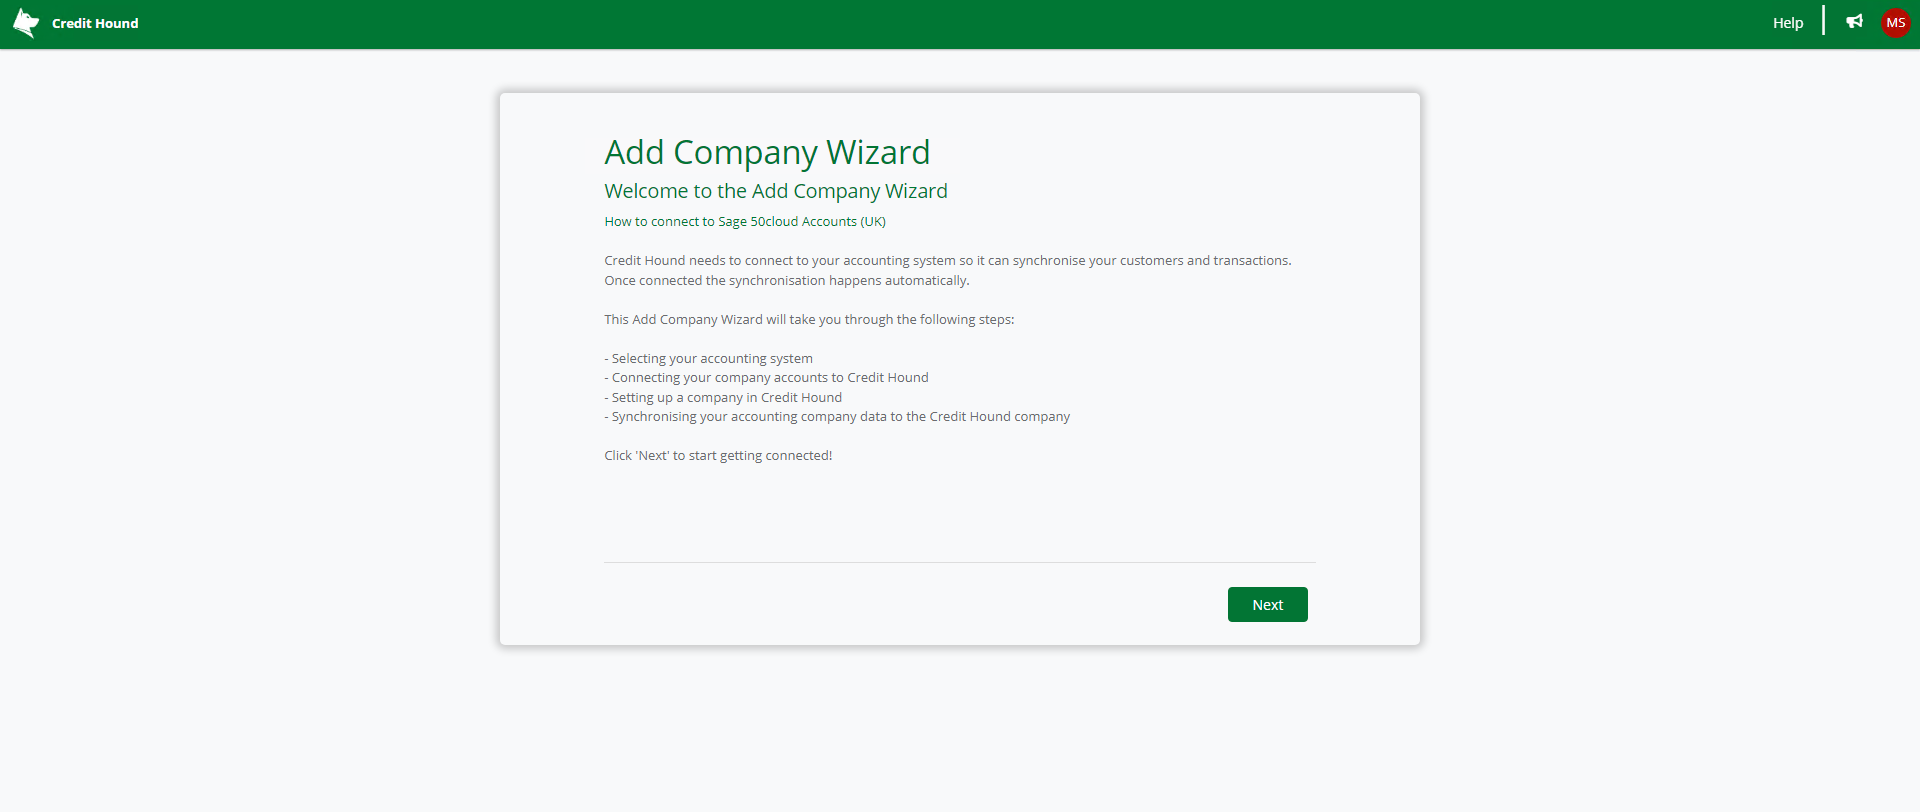
- Click the Next button
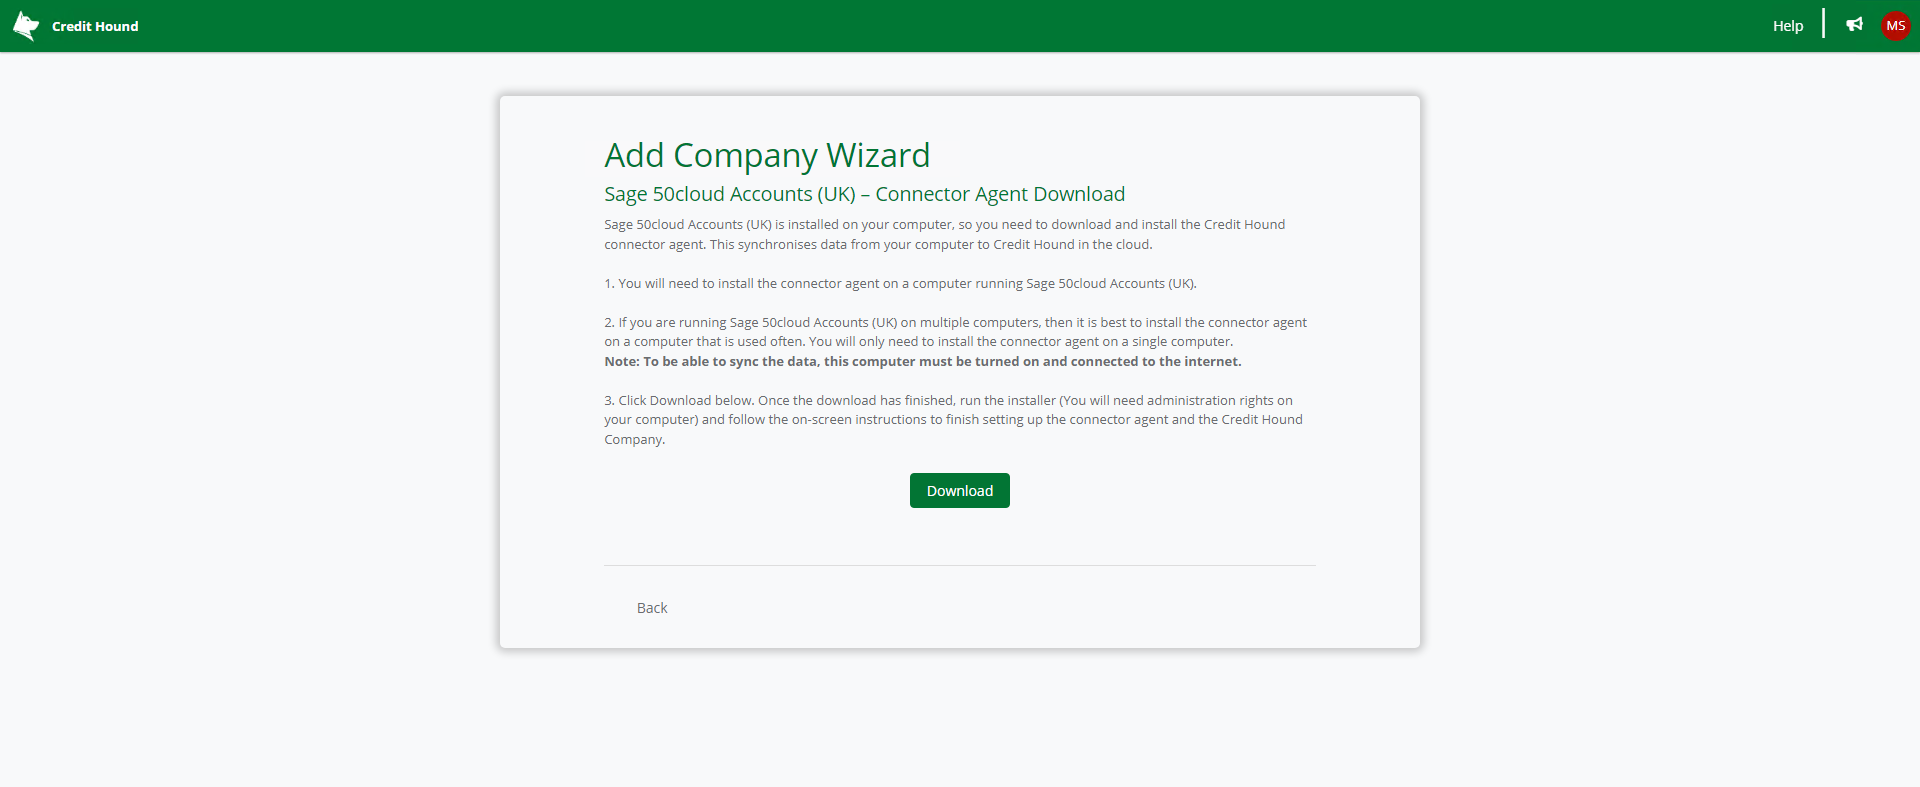
- Click the Download button to start downloading the connector agent installer
- Once the download has completed move on to Installing the Connector Agent.
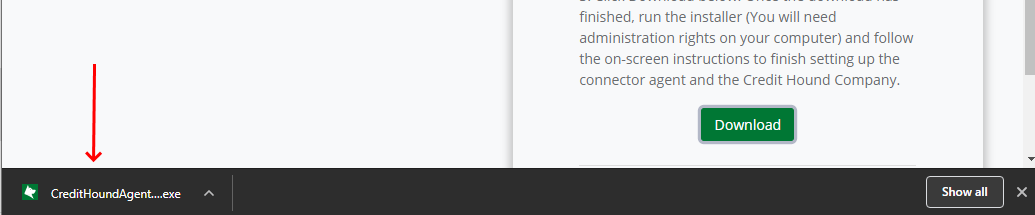 Download completed in Chrome browser
Installing the Connector Agent
The connector agent synchronizes your customers, contracts and transactions from the accounting system installed on your server to Credit Hound in the cloud.
If you haven't already, please check the Prerequisites before you begin.
- Double-click on the CreditHoundAgent installer you have downloaded
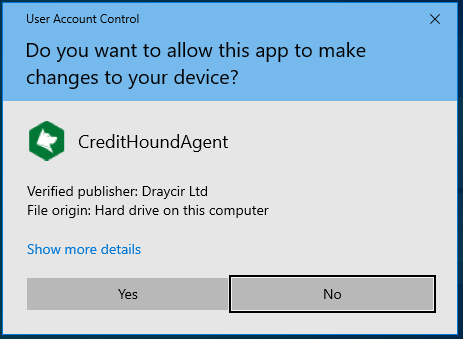
- If the User Account Control dialog appears, click Yes
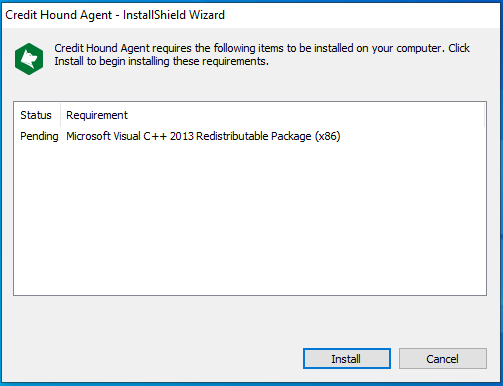
- A dialog may appear asking to install Microsoft Visual C++ components. Click Install
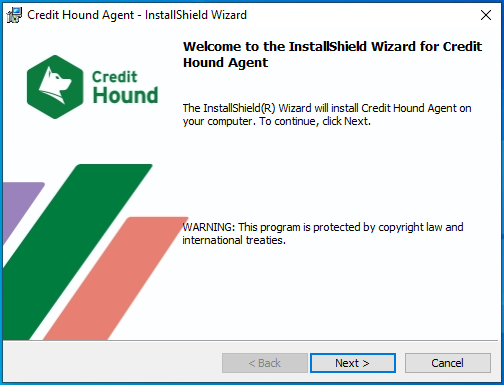
- When the Welcome page appears, click Next >
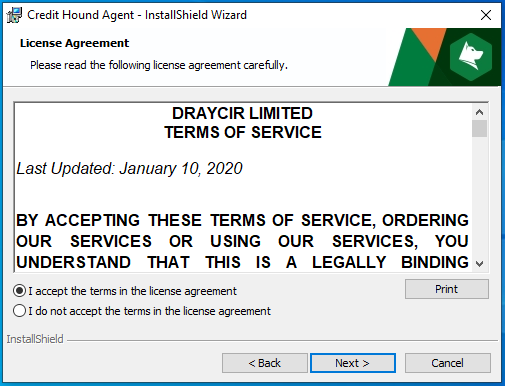
- On the License Agreement page, select I accept the terms in the license agreement and click Next >
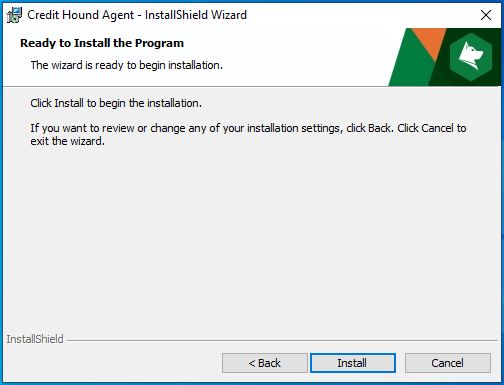
- On the Ready to Install the Program page click Install
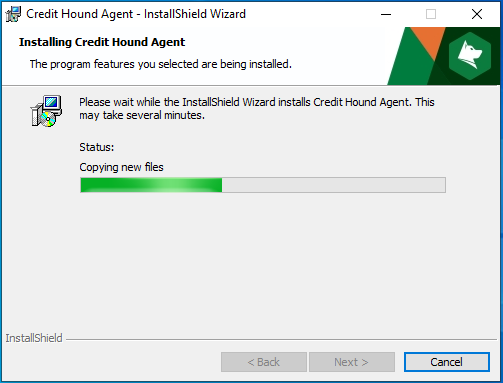
- The connector agent will now be installed on the server.
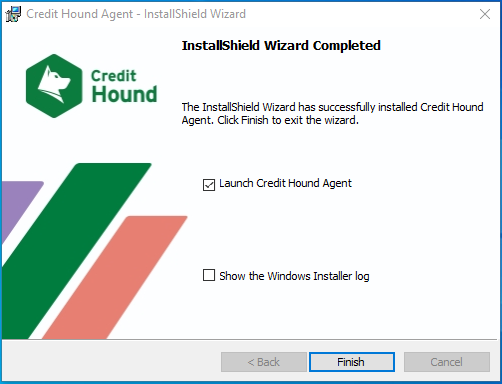
- Once the installation is complete, leave the option Launch Credit Hound Agent ticked and click Finish
- The install wizard will close and the Credit Hound Agent will run.
New Connector Wizard
After installing the software, the Credit Hound connector agent will run and automatically launch the new connector wizard. The next part takes you through the wizard which connects your accounting data to Credit Hound.
- The first screen of the wizard asks you to select your Accounting System
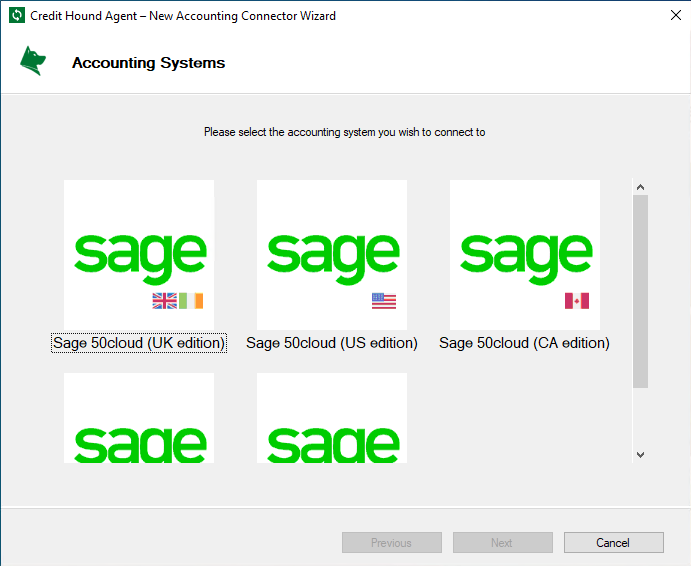
- Select the Sage 50cloud (UK edition) option and click Next
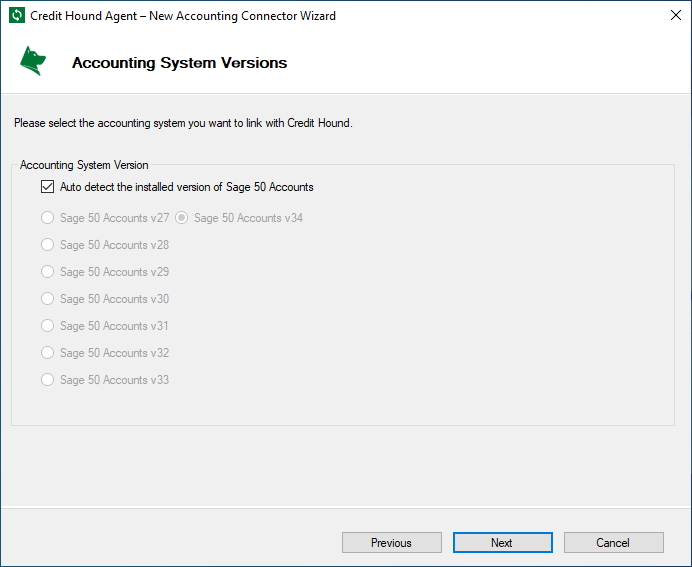
- The wizard automatically detects the version of Sage 50 Accounts installed on the server, shown as the selected option
- Click Next
- If the detected version is wrong, untick Auto detect the installed version of Sage 50 Accounts and select the correct version from the list
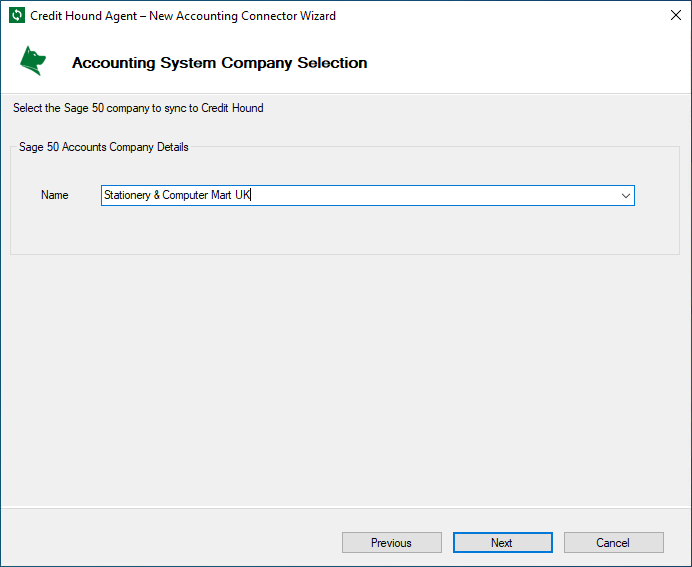
- If you have multiple companies in Sage 50, select the one you want to use with Credit Hound from the drop-down control. In this example, we will use Stationery & Computer Mart UK
- Click Next
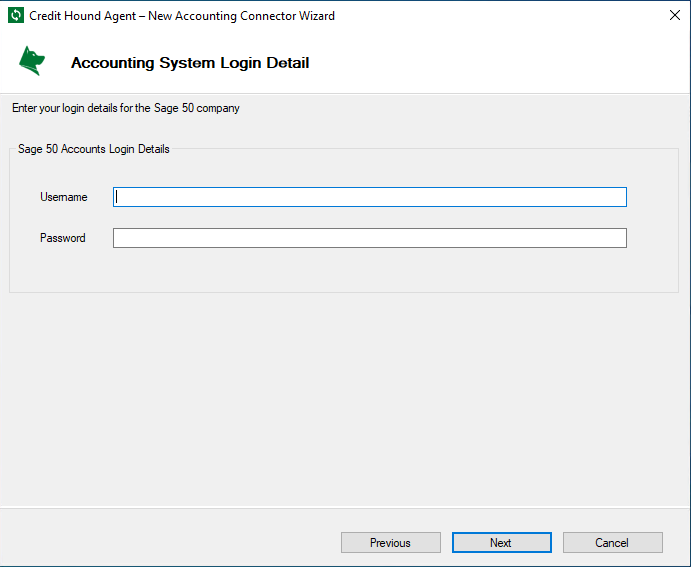
- Enter the Username and Password login details of a Sage 50 Accounts user that has access to the company you are connecting to
- Click Next
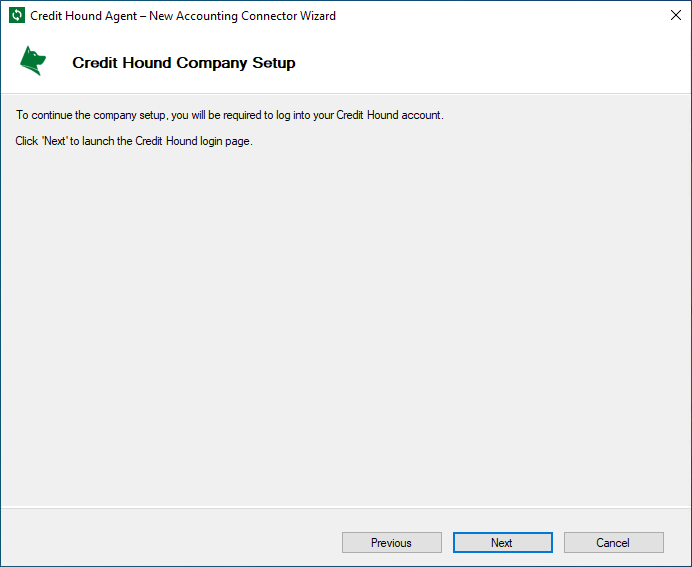
- We now need to log into your Credit Hound account so we can create a company and synchronize your accounting data
- Click Next
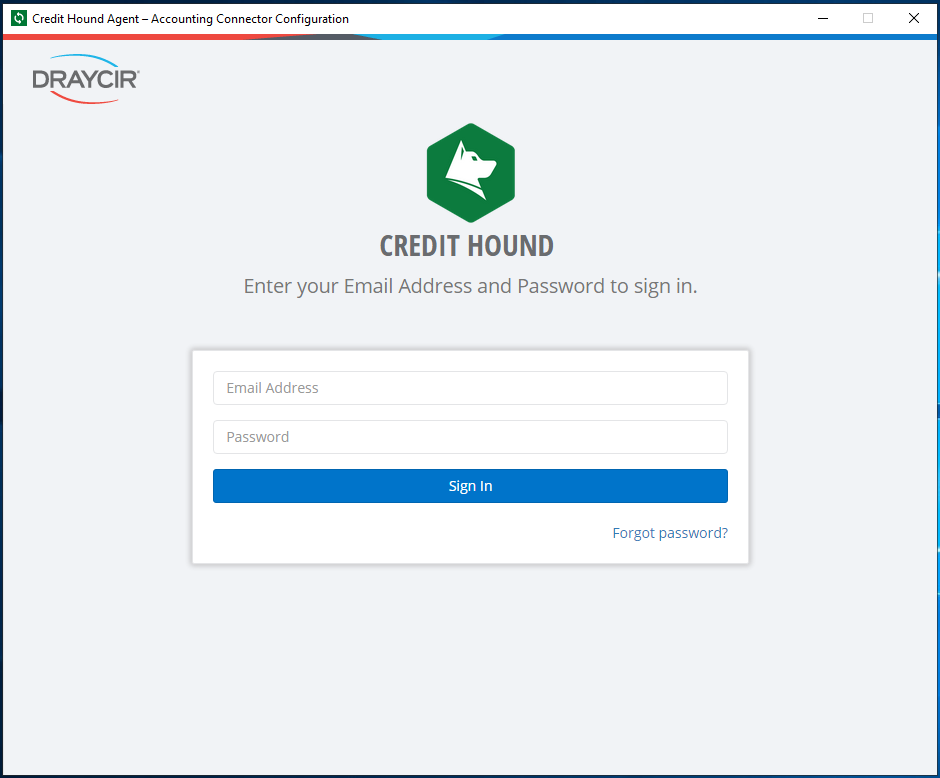
- Enter the email address and password of the user who signed up to Credit Hound and click Sign In
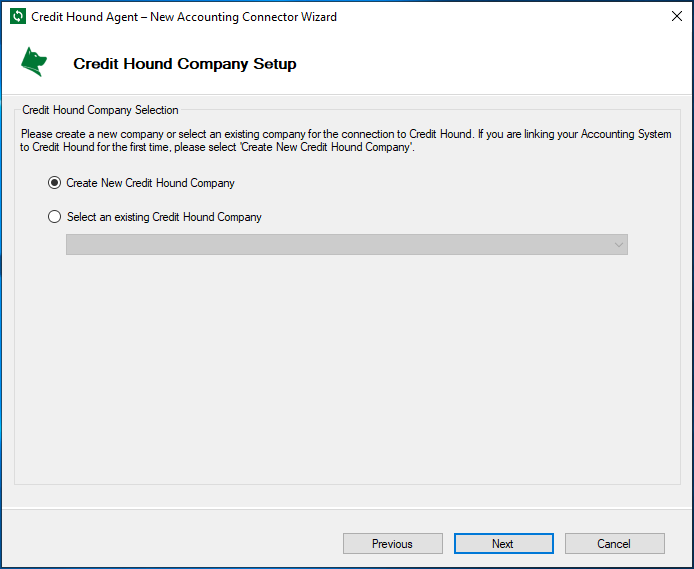
- If you are linking Sage 50 Accounts to Credit Hound for the first time, select Create New Credit Hound Company and click Next
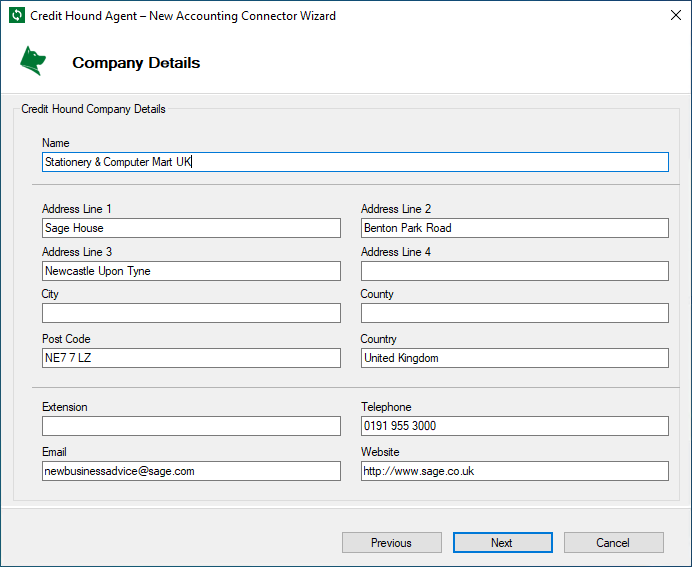
- This screen shows the company details we will register with Credit Hound. By default they are taken from the company you have previously selected from Sage 50. You can change any details here or fill in missing fields such as your email address, company website and telephone etc.
- Click the Next button
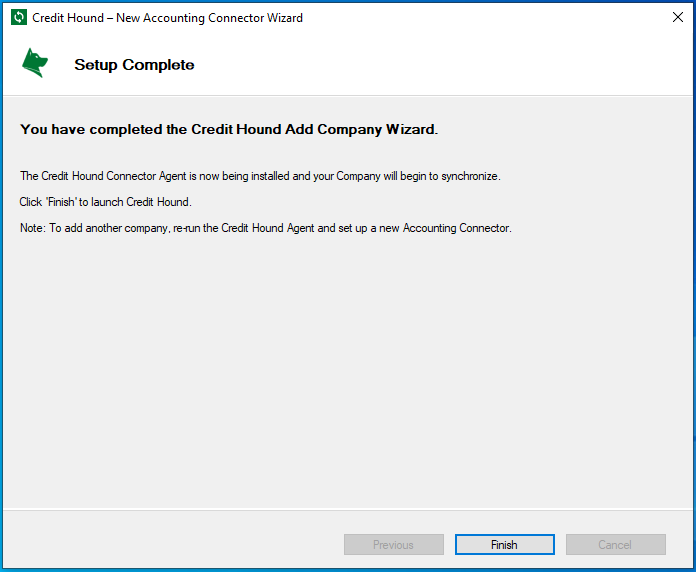
- Click the Finish button
Congratulations, the connector agent wizard is complete!
The wizard has created a service on the server which will periodically synchronize your accounting data with Credit Hound Cloud. This can only happen while the server is turned on and connected to the internet.
The installation is now complete. A browser window should now appear which will take you to your new company in my.credithoundcloud.com. Your Credit Hound Cloud user can sign in there to see the new company once synchronization has finished.
It may take some time for your data to synchronize. You will receive an email notification when the first synchronization has completed - see the How do I know when the first synchronization has completed? article for more information.